Categories
Craft Projects
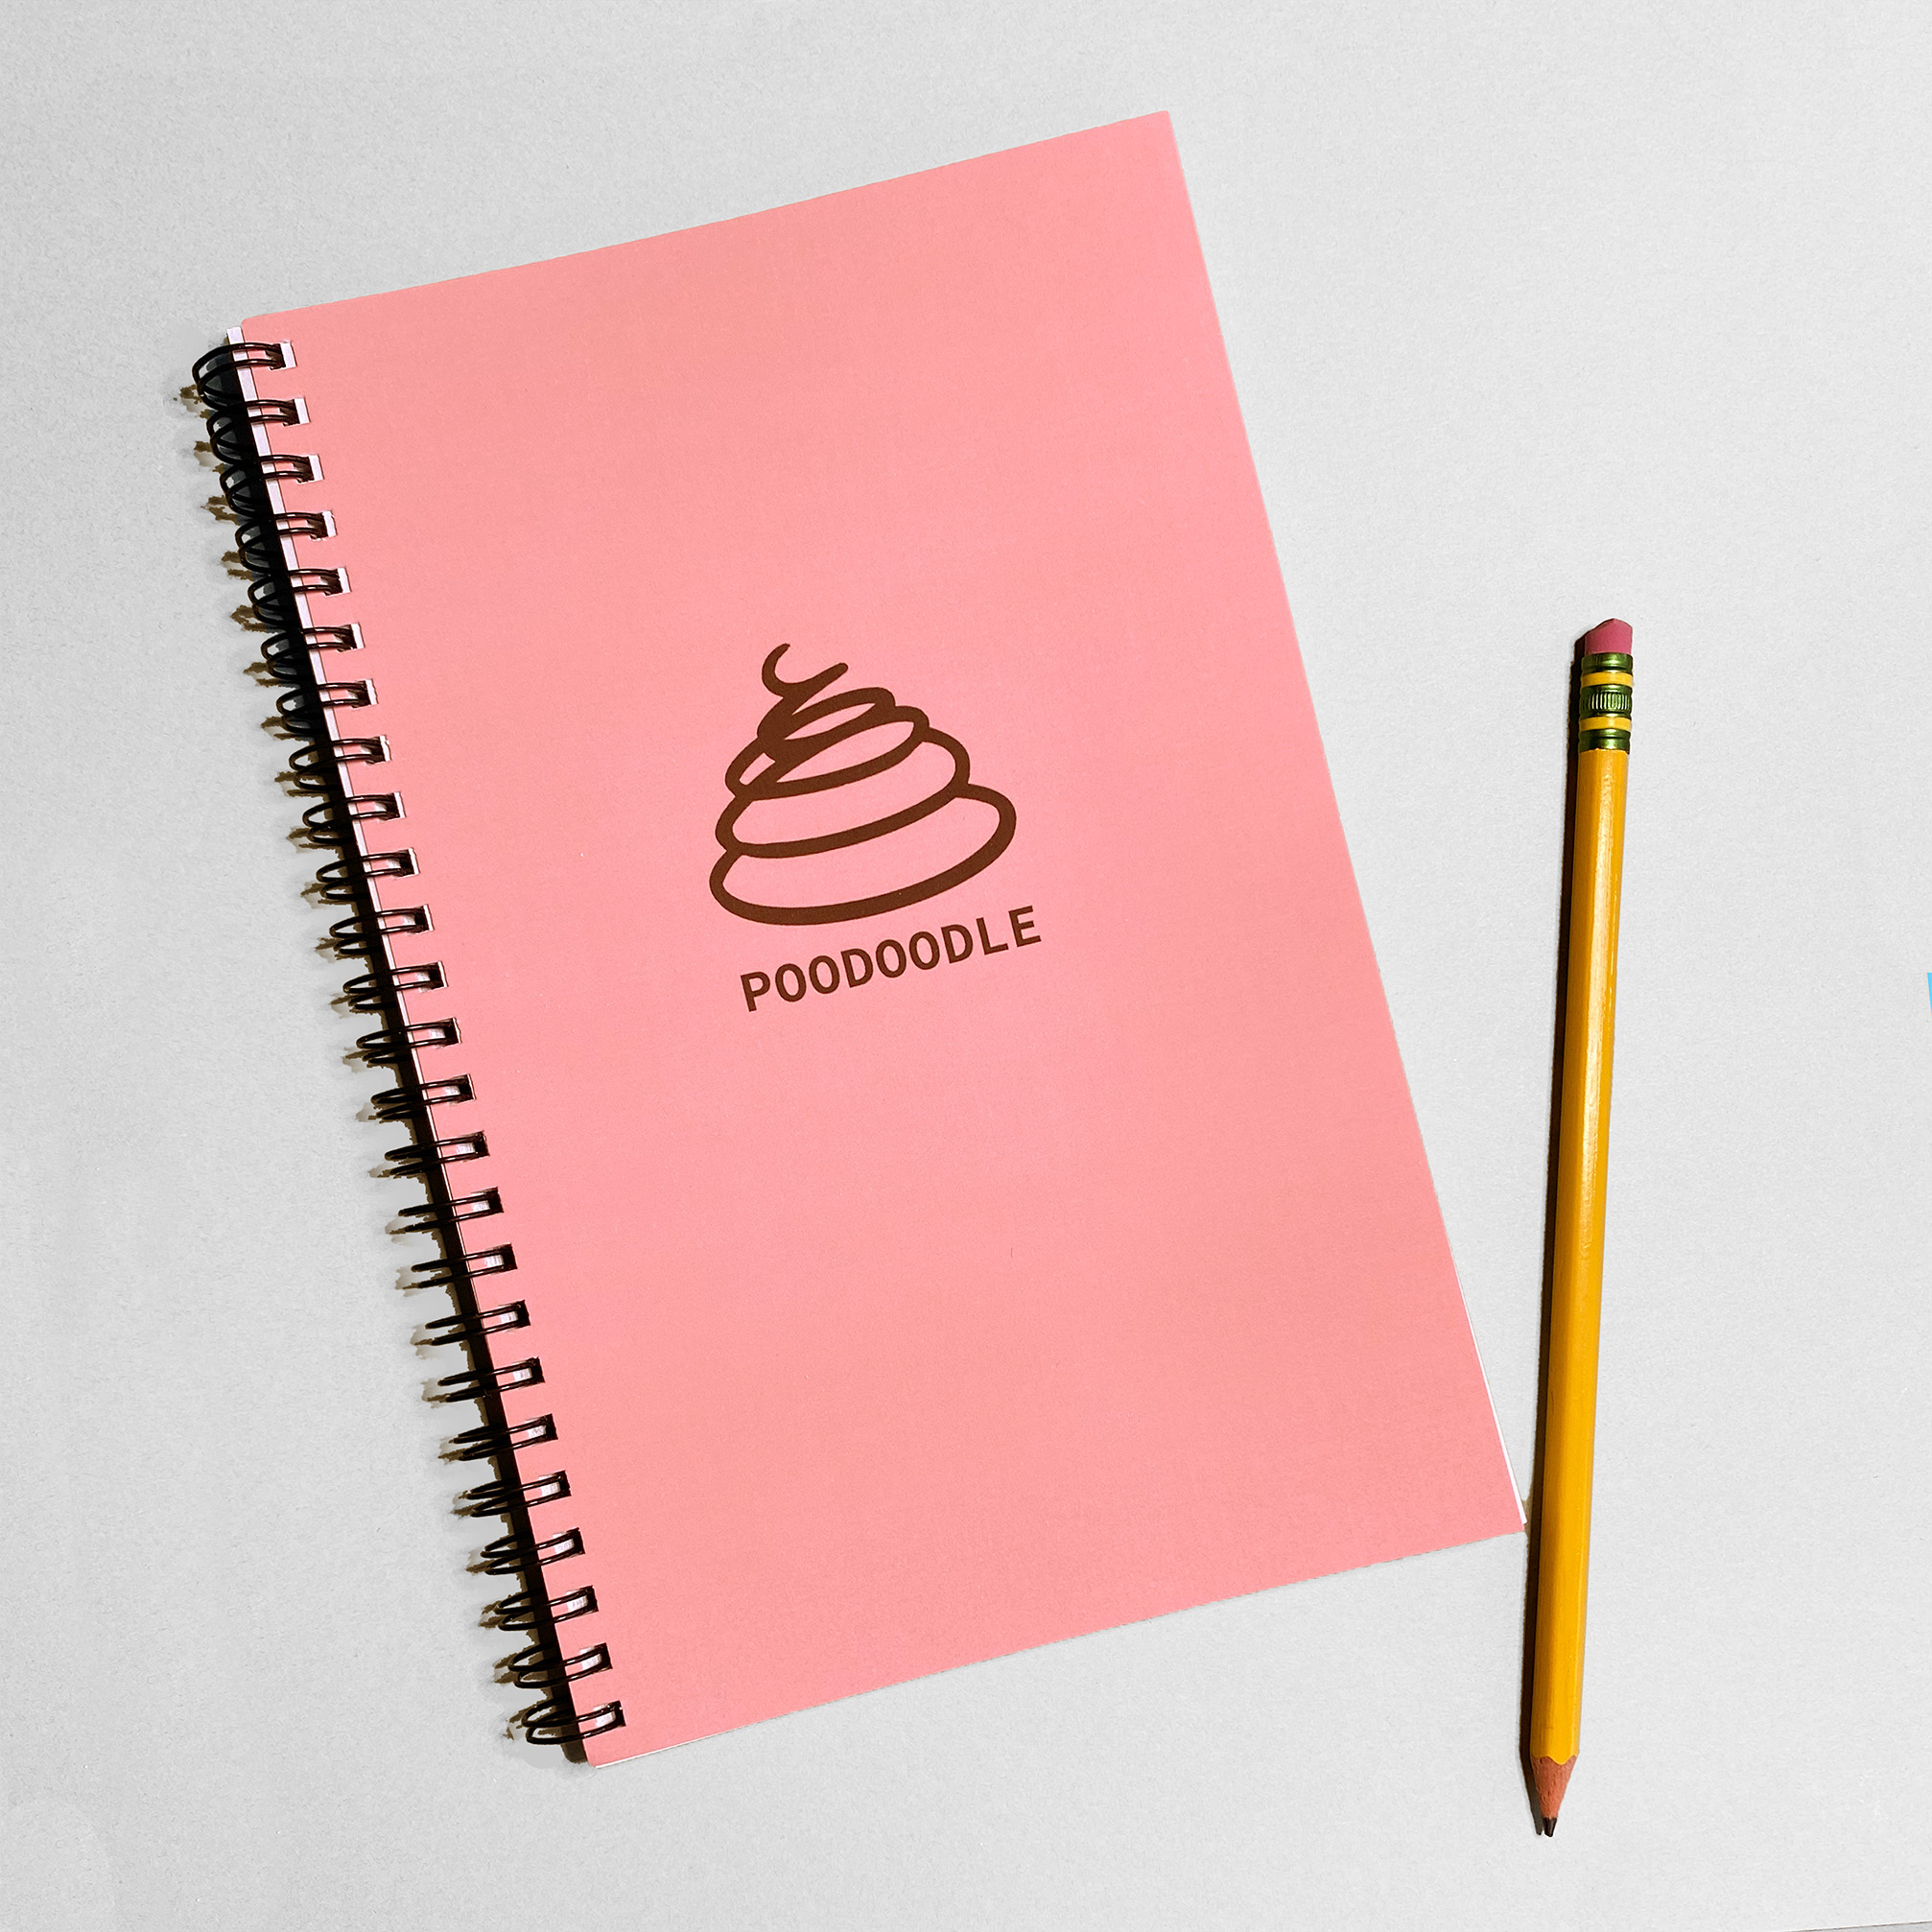
Introducing the Poodoodle Journal
"A place to doodle, brainstorm, make lists, scribble down half-baked ideas, and write without judgment. "
Read More "A place to doodle, brainstorm, make lists, scribble down half-baked ideas, and write without judgment. "
Read More
Buyers had the chance to transform their prehistoric pals, whether it was a T-Rex with colorful rainbow spots, a Triceratops in neon stripes, or perhaps a Stegosaurus in cozy pajamas!
Read More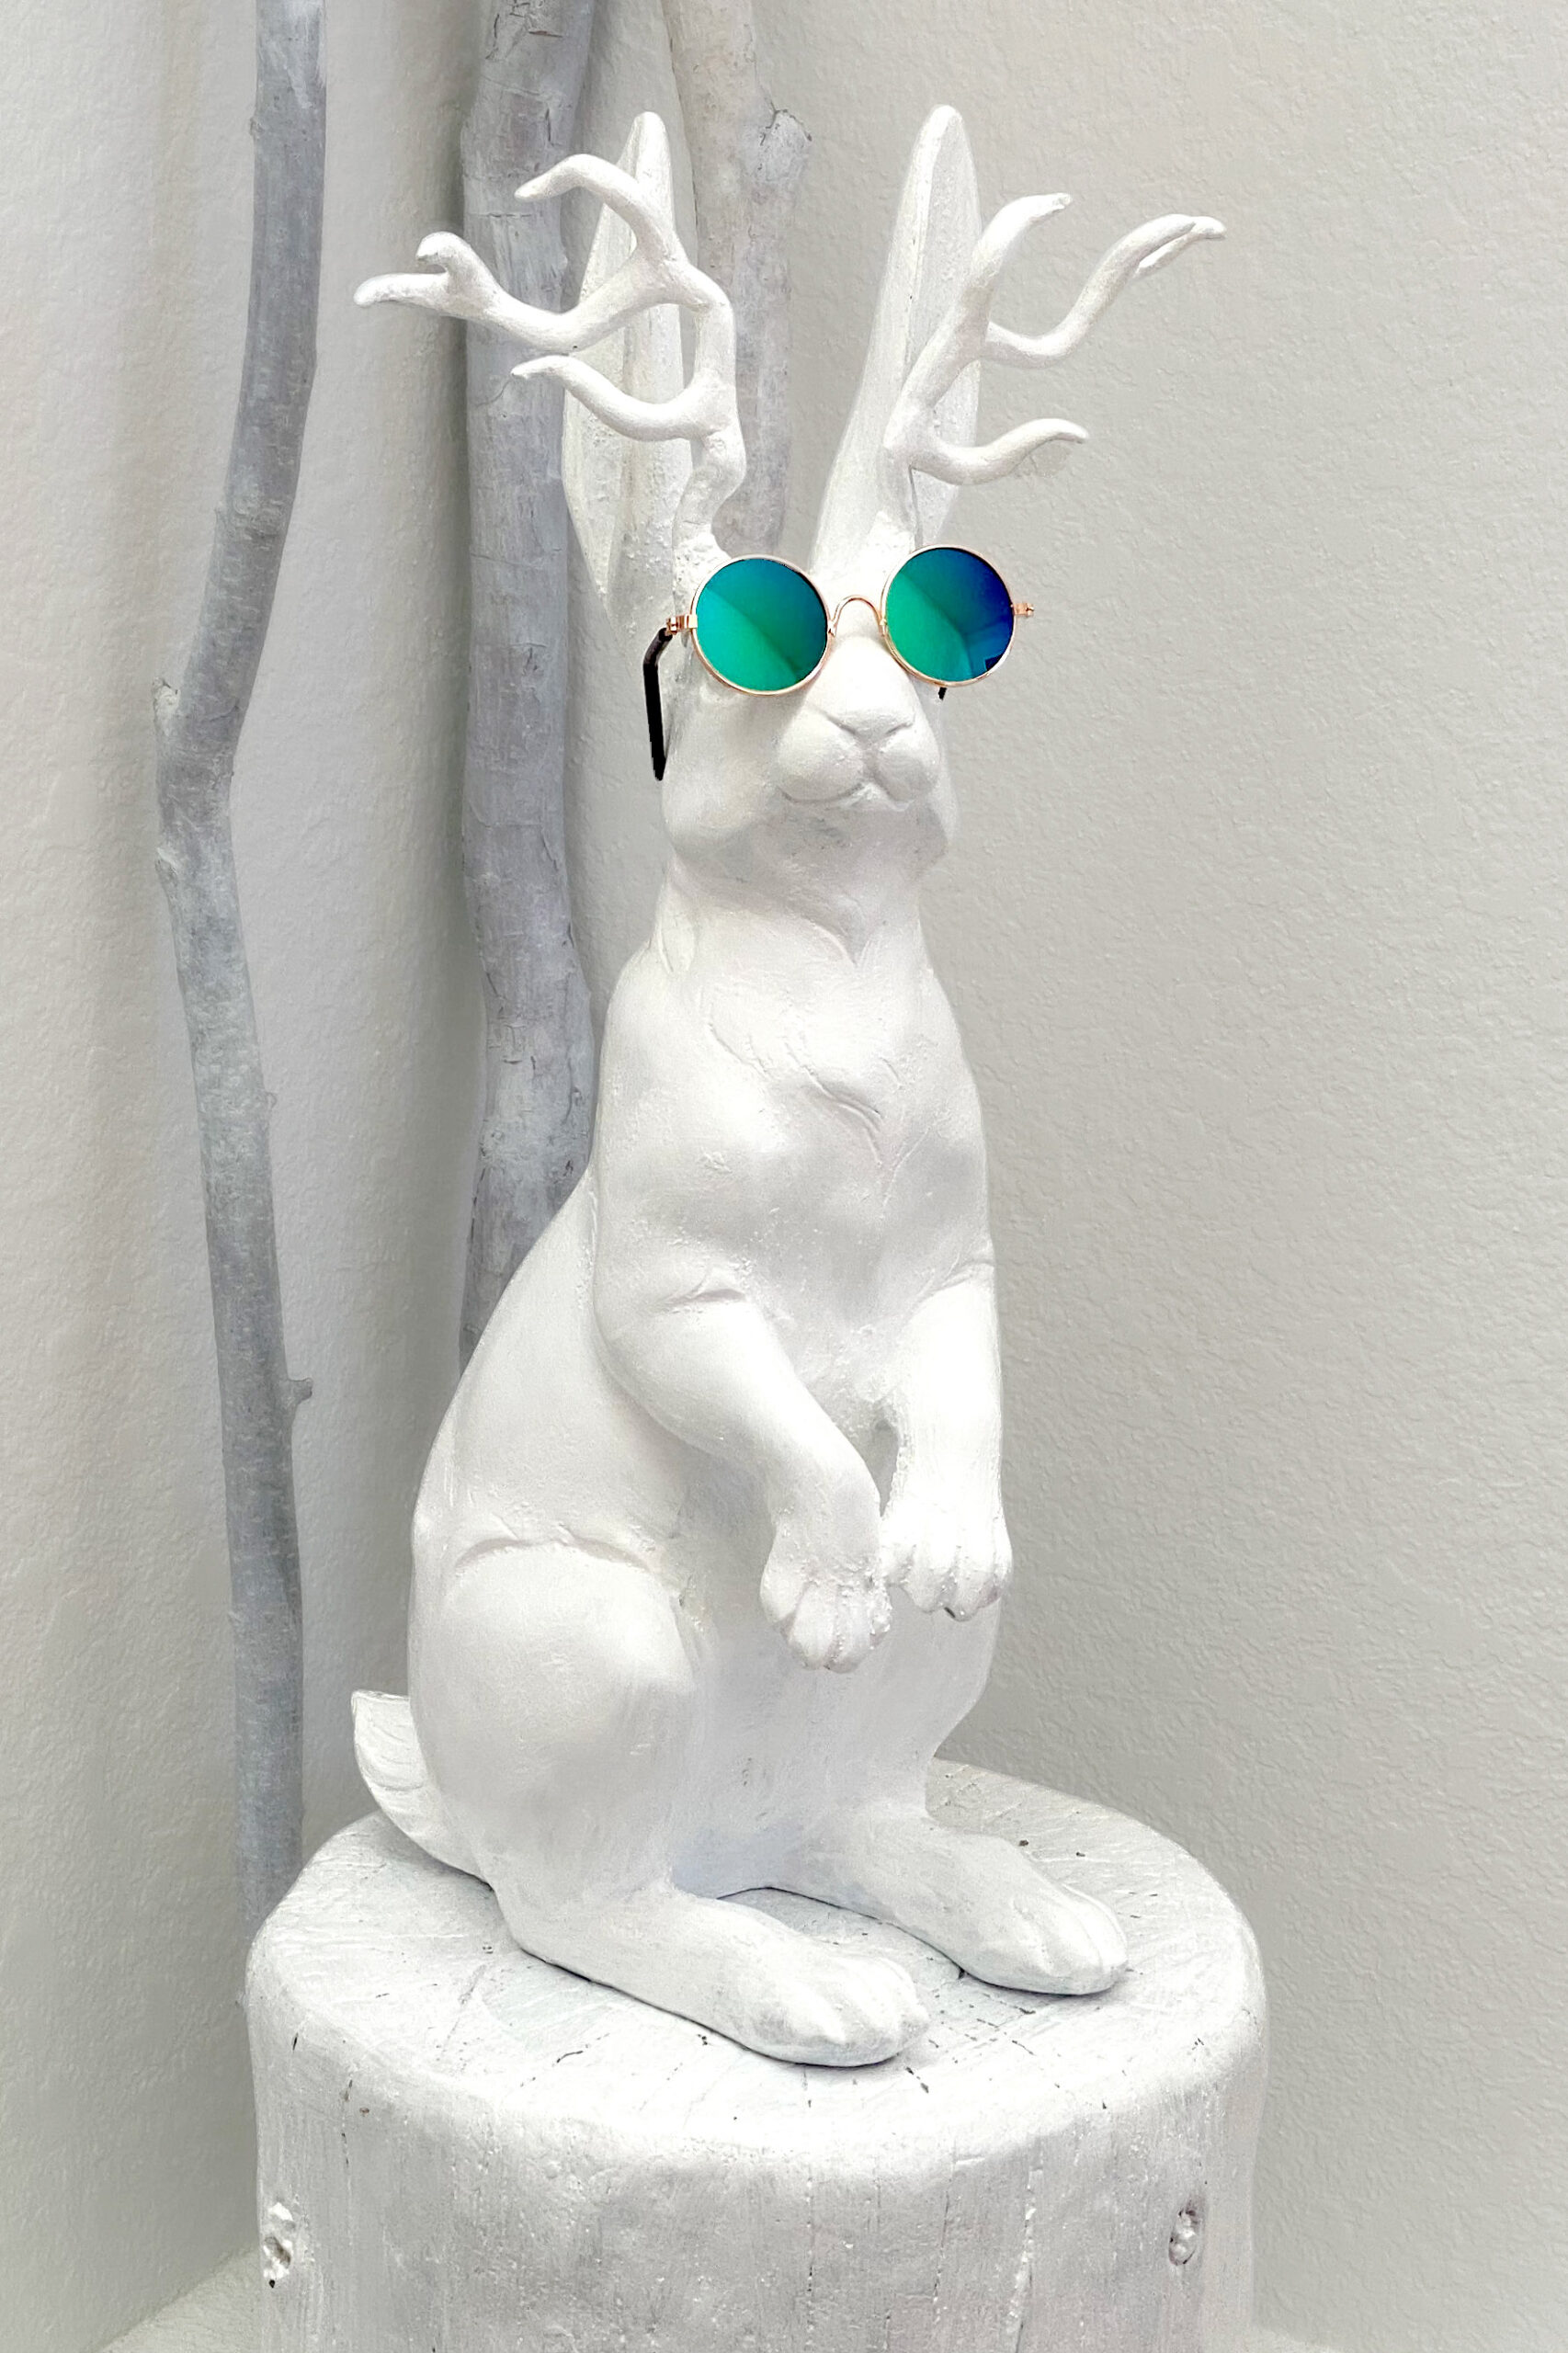
Learn how to take a cutesy garden ornament and transform it into a cool cryptid.
Read More
Kinda cool. Kinda artsy.DIY one-of-a-kind sofa table.
Read More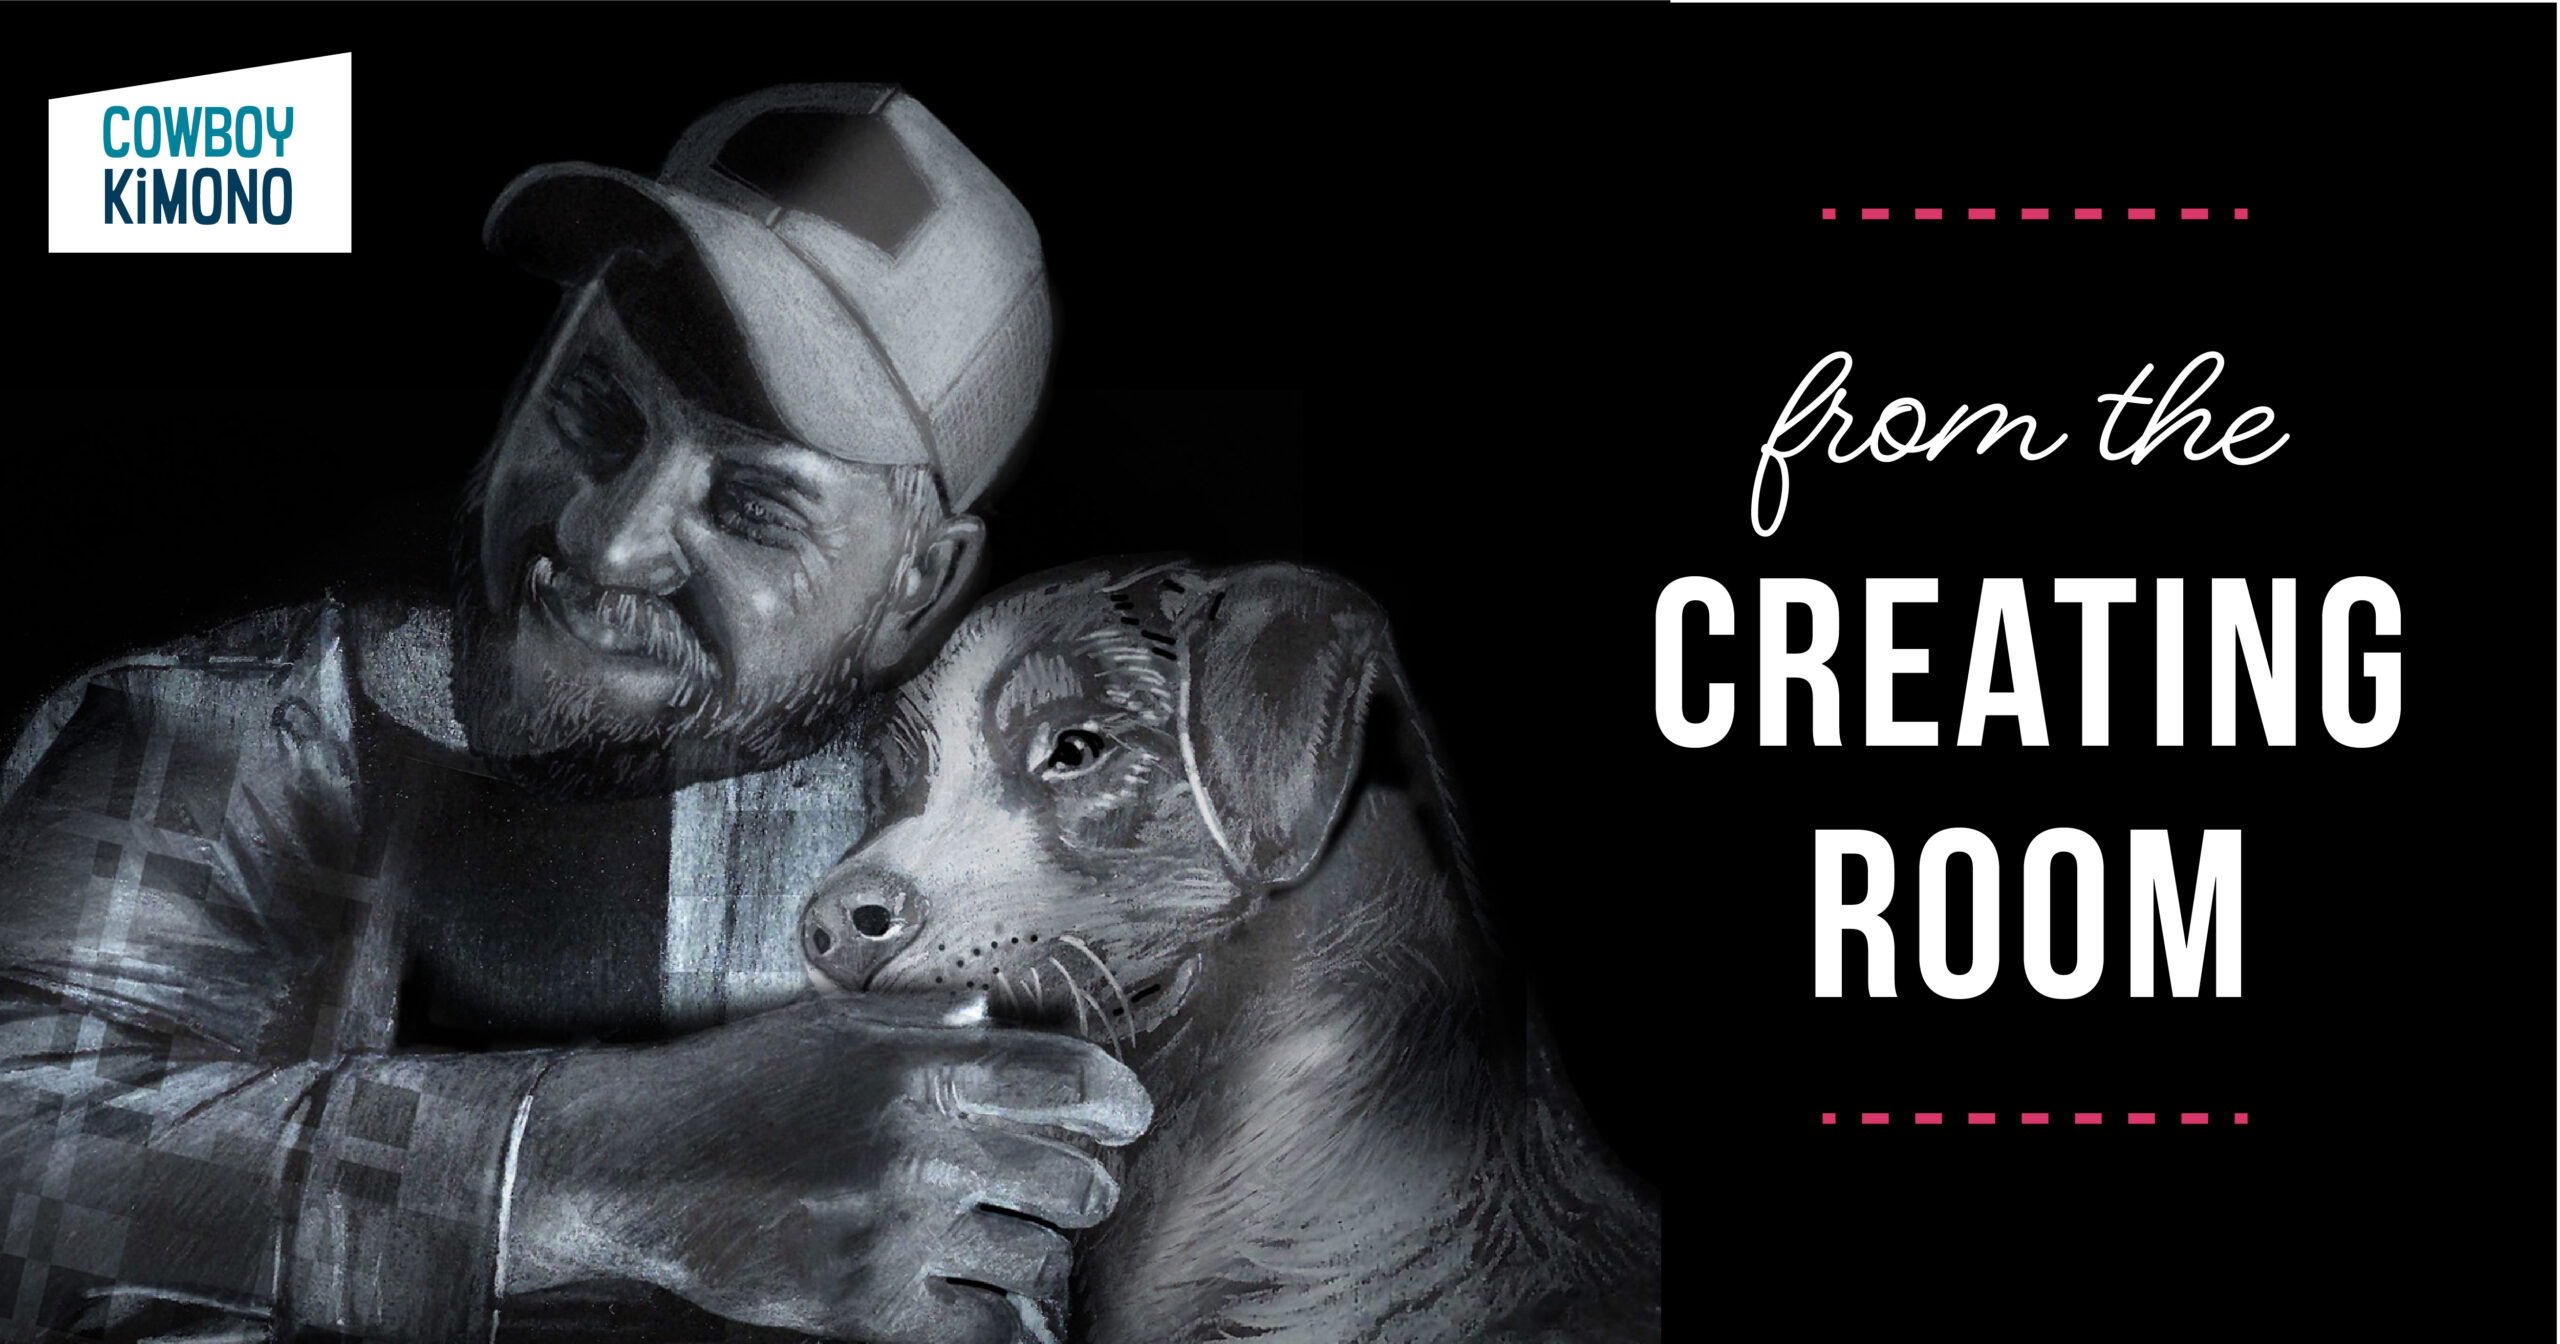
Converting chalk art drawings into an animated video ... with links to the videos I found most helpful.
Read More
Although there were a handful of design challenges, we were able to take four tired signs and breathe new life into them.
Read More
Chalk art on kitchen door transforms into an animated video.
Read More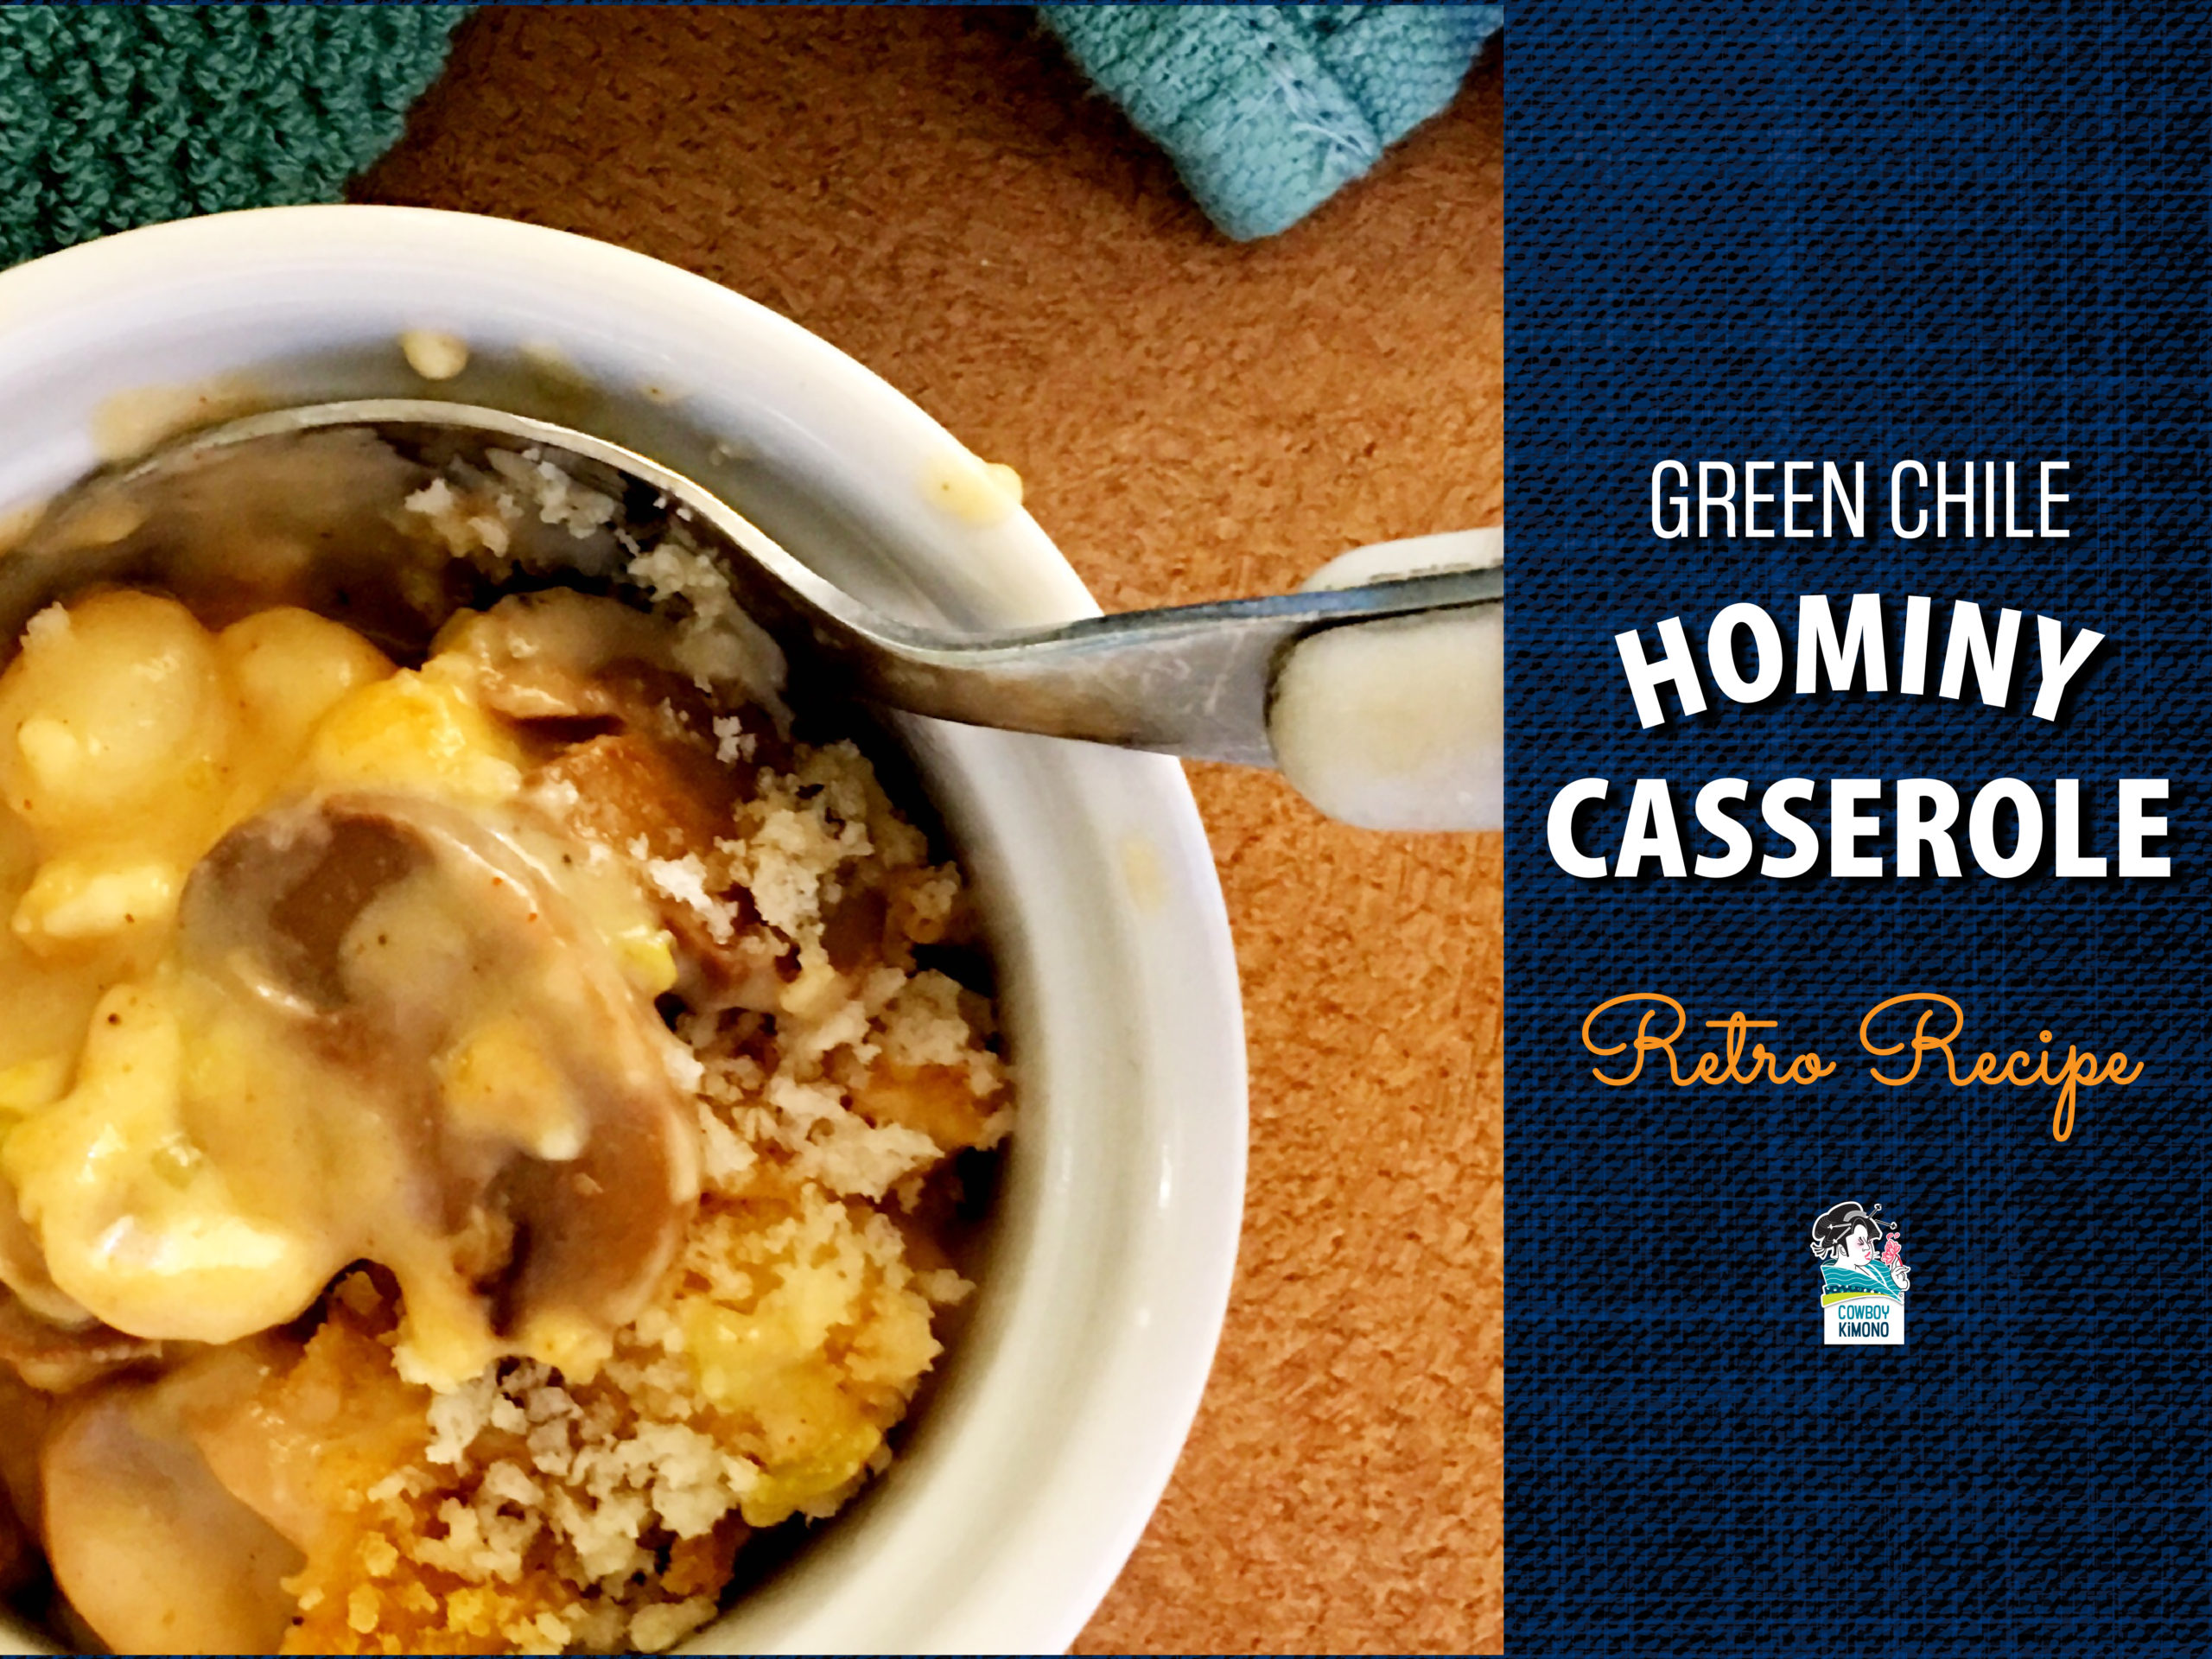
One of my Mom's go-to-breakfast dishes spiced up a bit with green chile.
Read More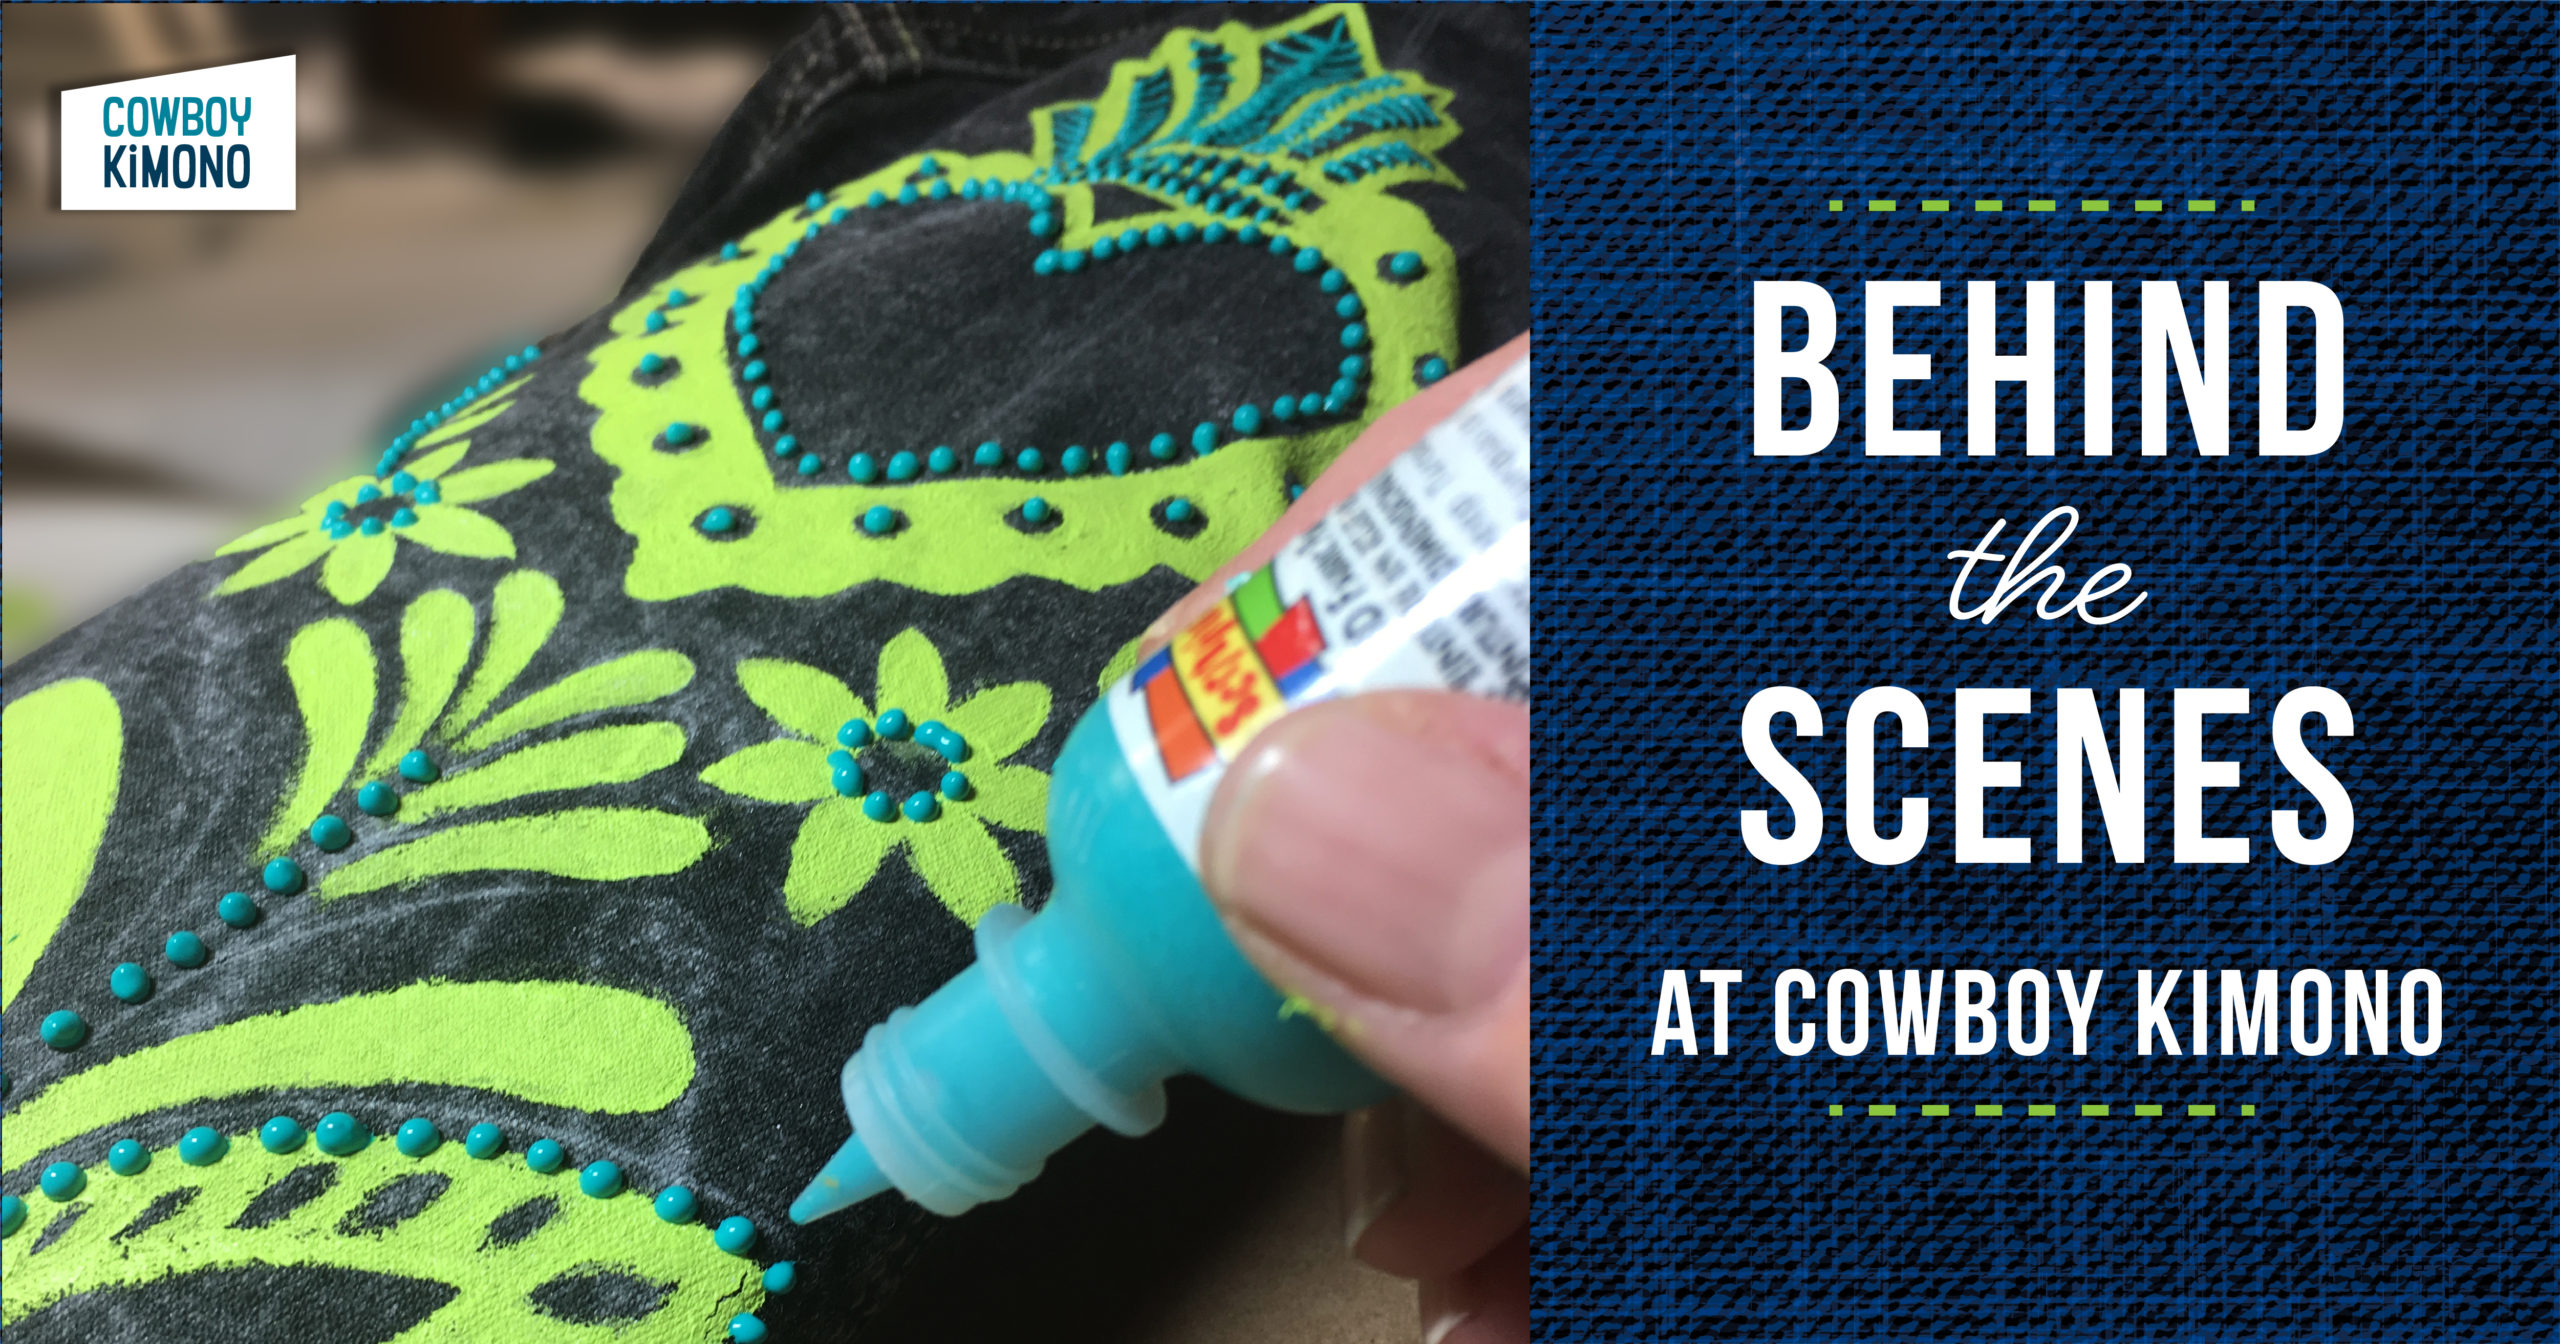
A quickie tour showing how a doodle morphs into a hand painted denim jacket.
Read More
Fashion inspiration from my travels on the world wide web.
Read More