Categories
Craft Projects
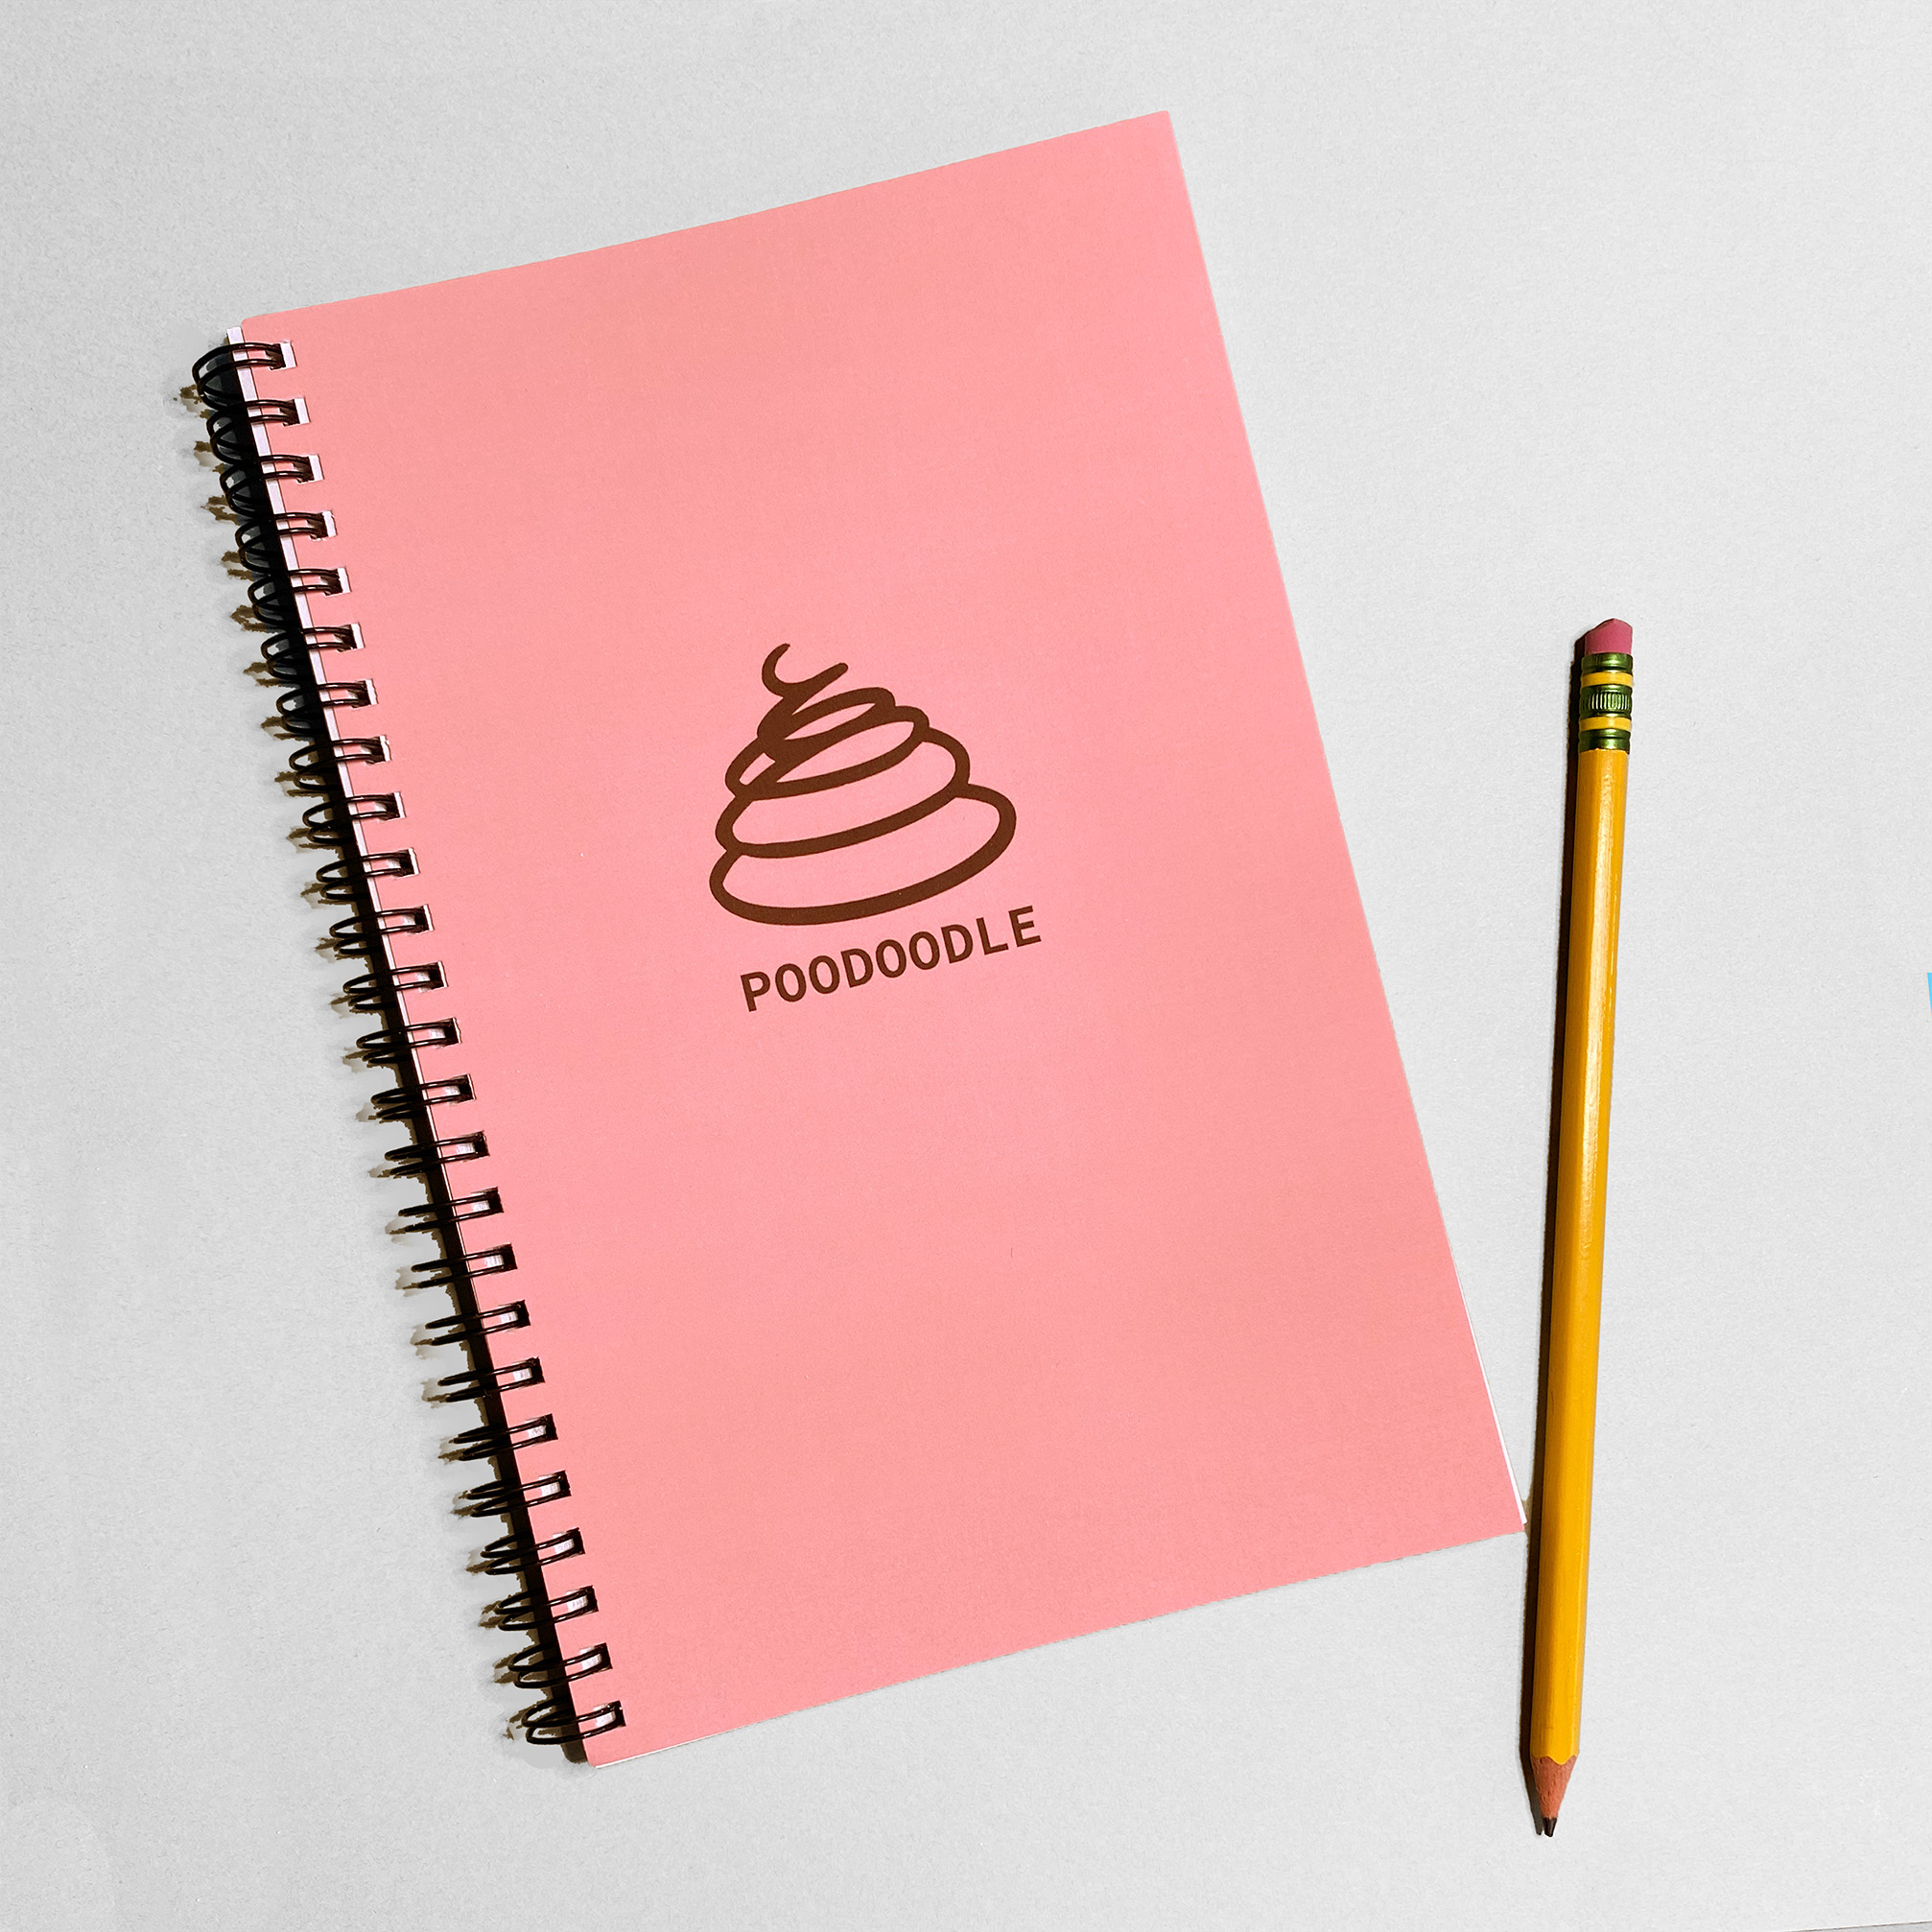
Introducing the Poodoodle Journal
"A place to doodle, brainstorm, make lists, scribble down half-baked ideas, and write without judgment. "
Read More "A place to doodle, brainstorm, make lists, scribble down half-baked ideas, and write without judgment. "
Read More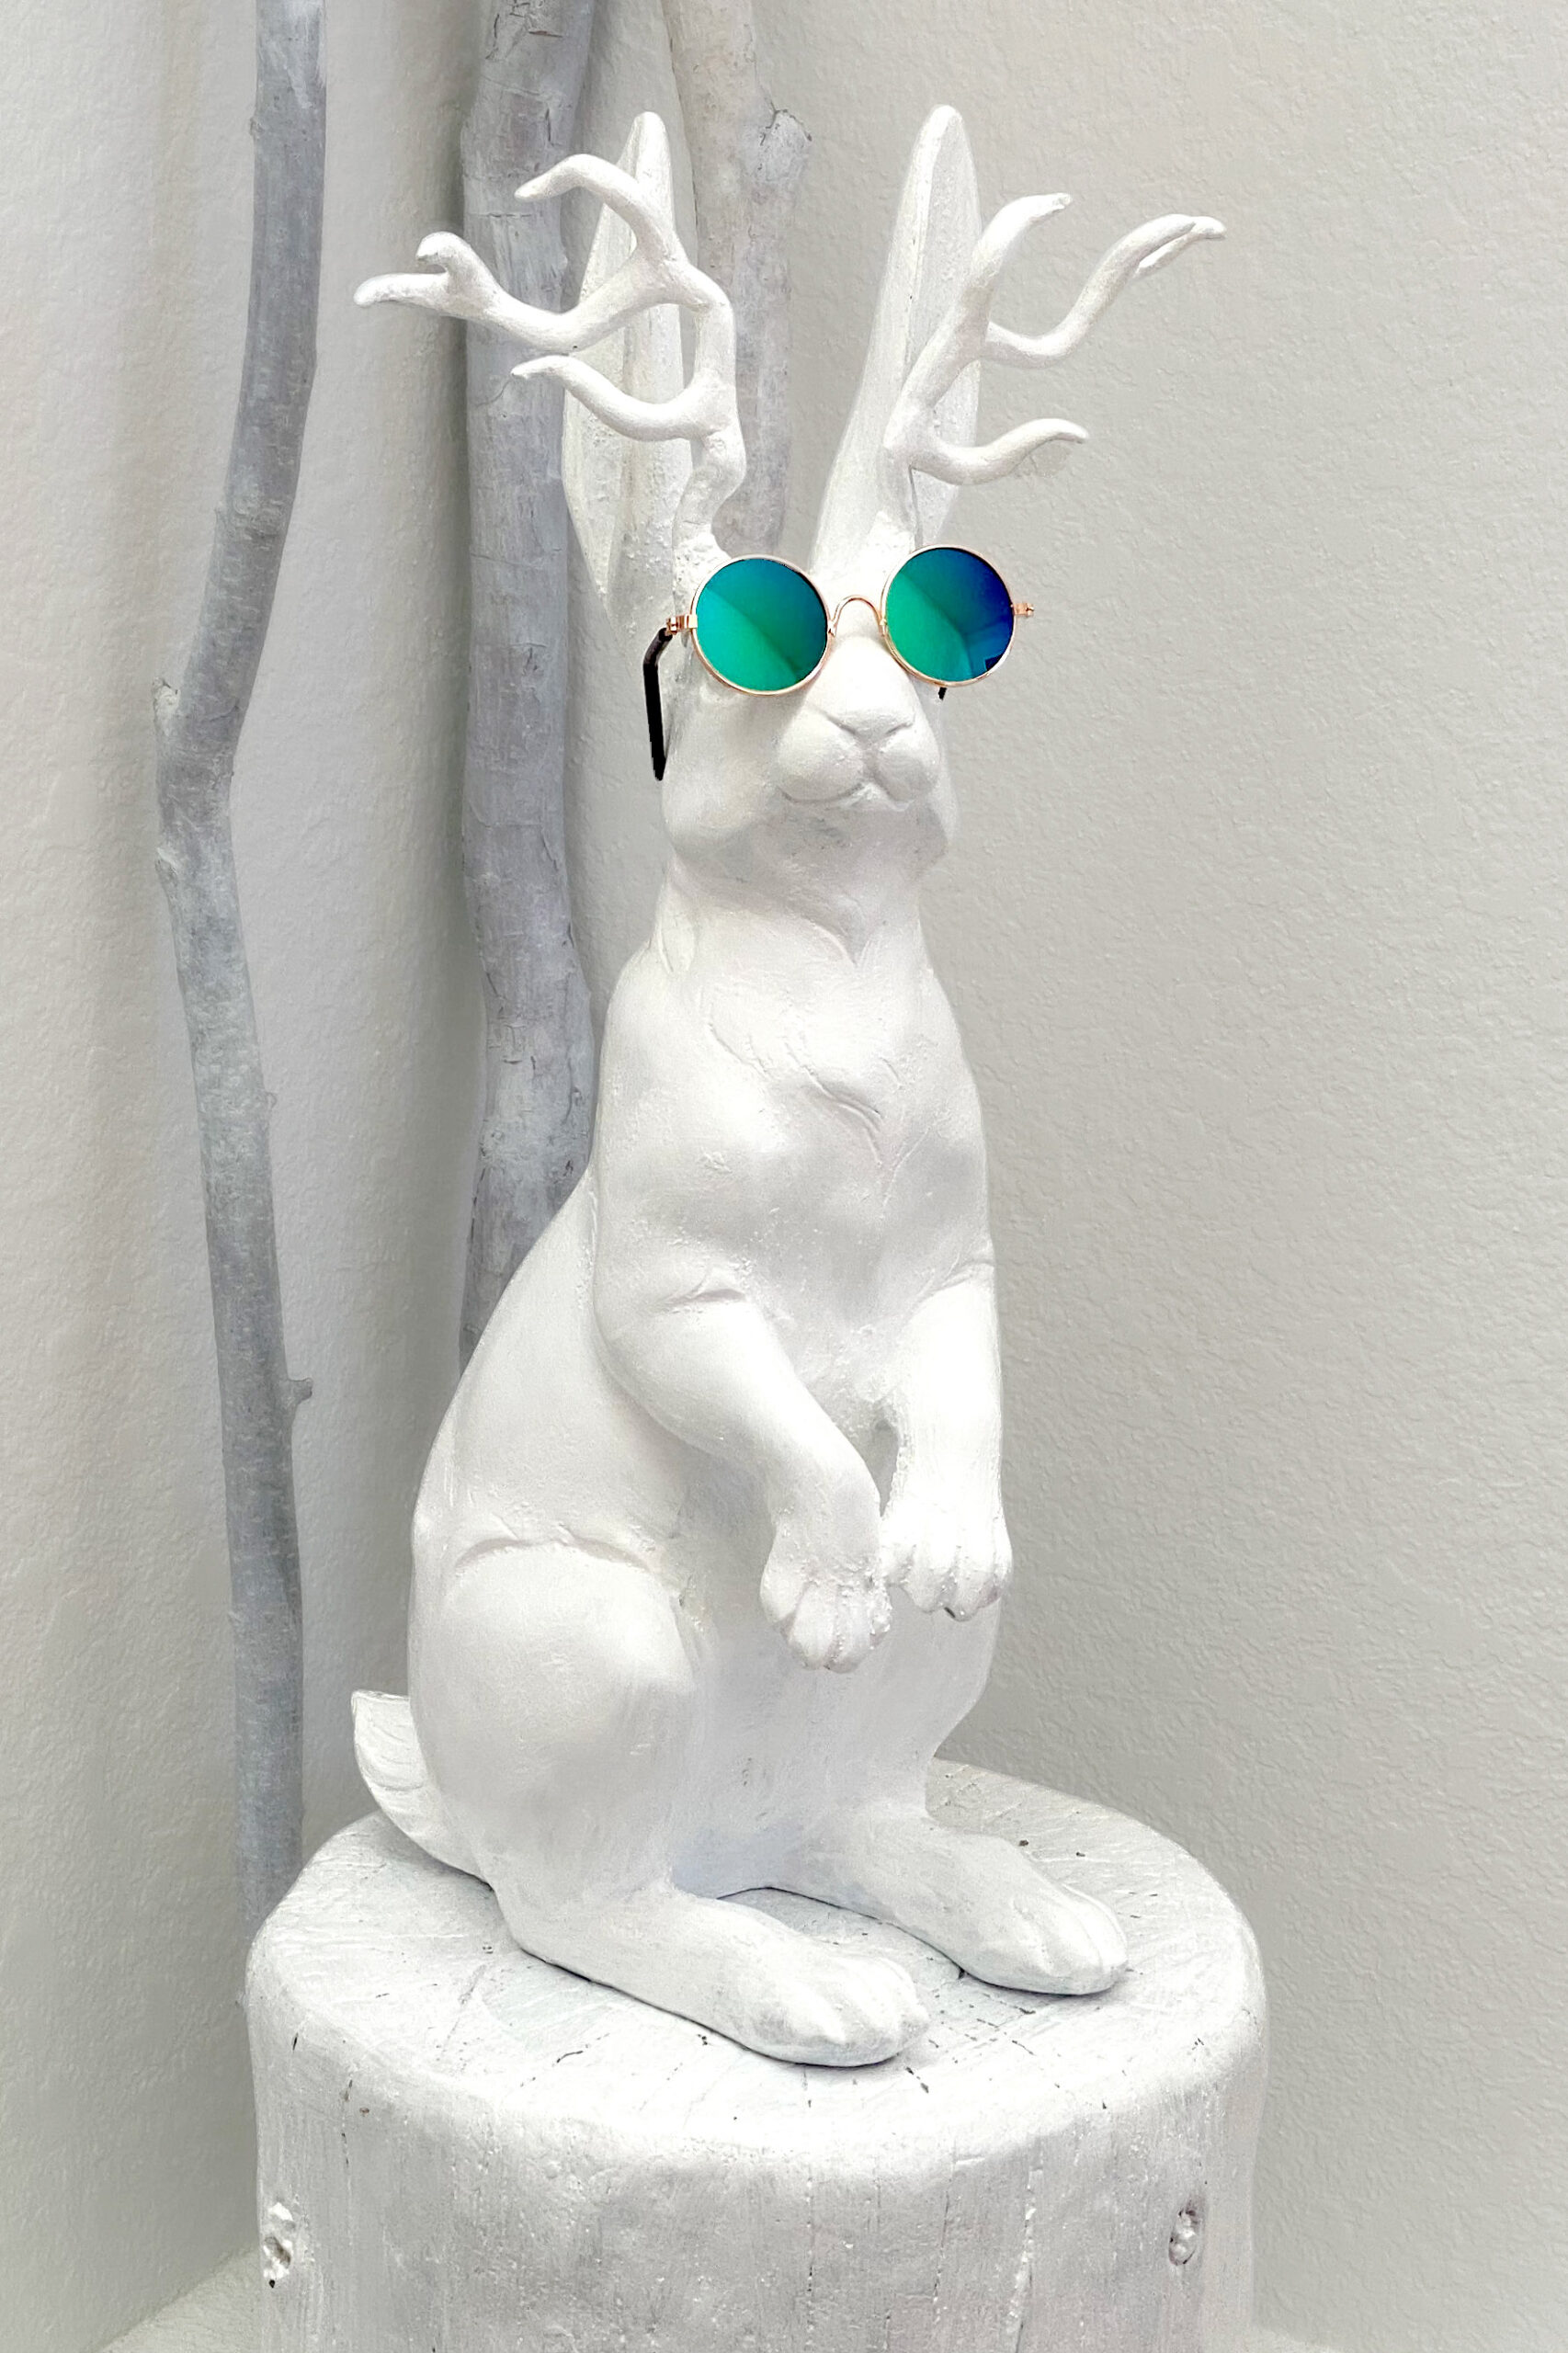
Learn how to take a cutesy garden ornament and transform it into a cool cryptid.
Read More
Kinda cool. Kinda artsy.DIY one-of-a-kind sofa table.
Read More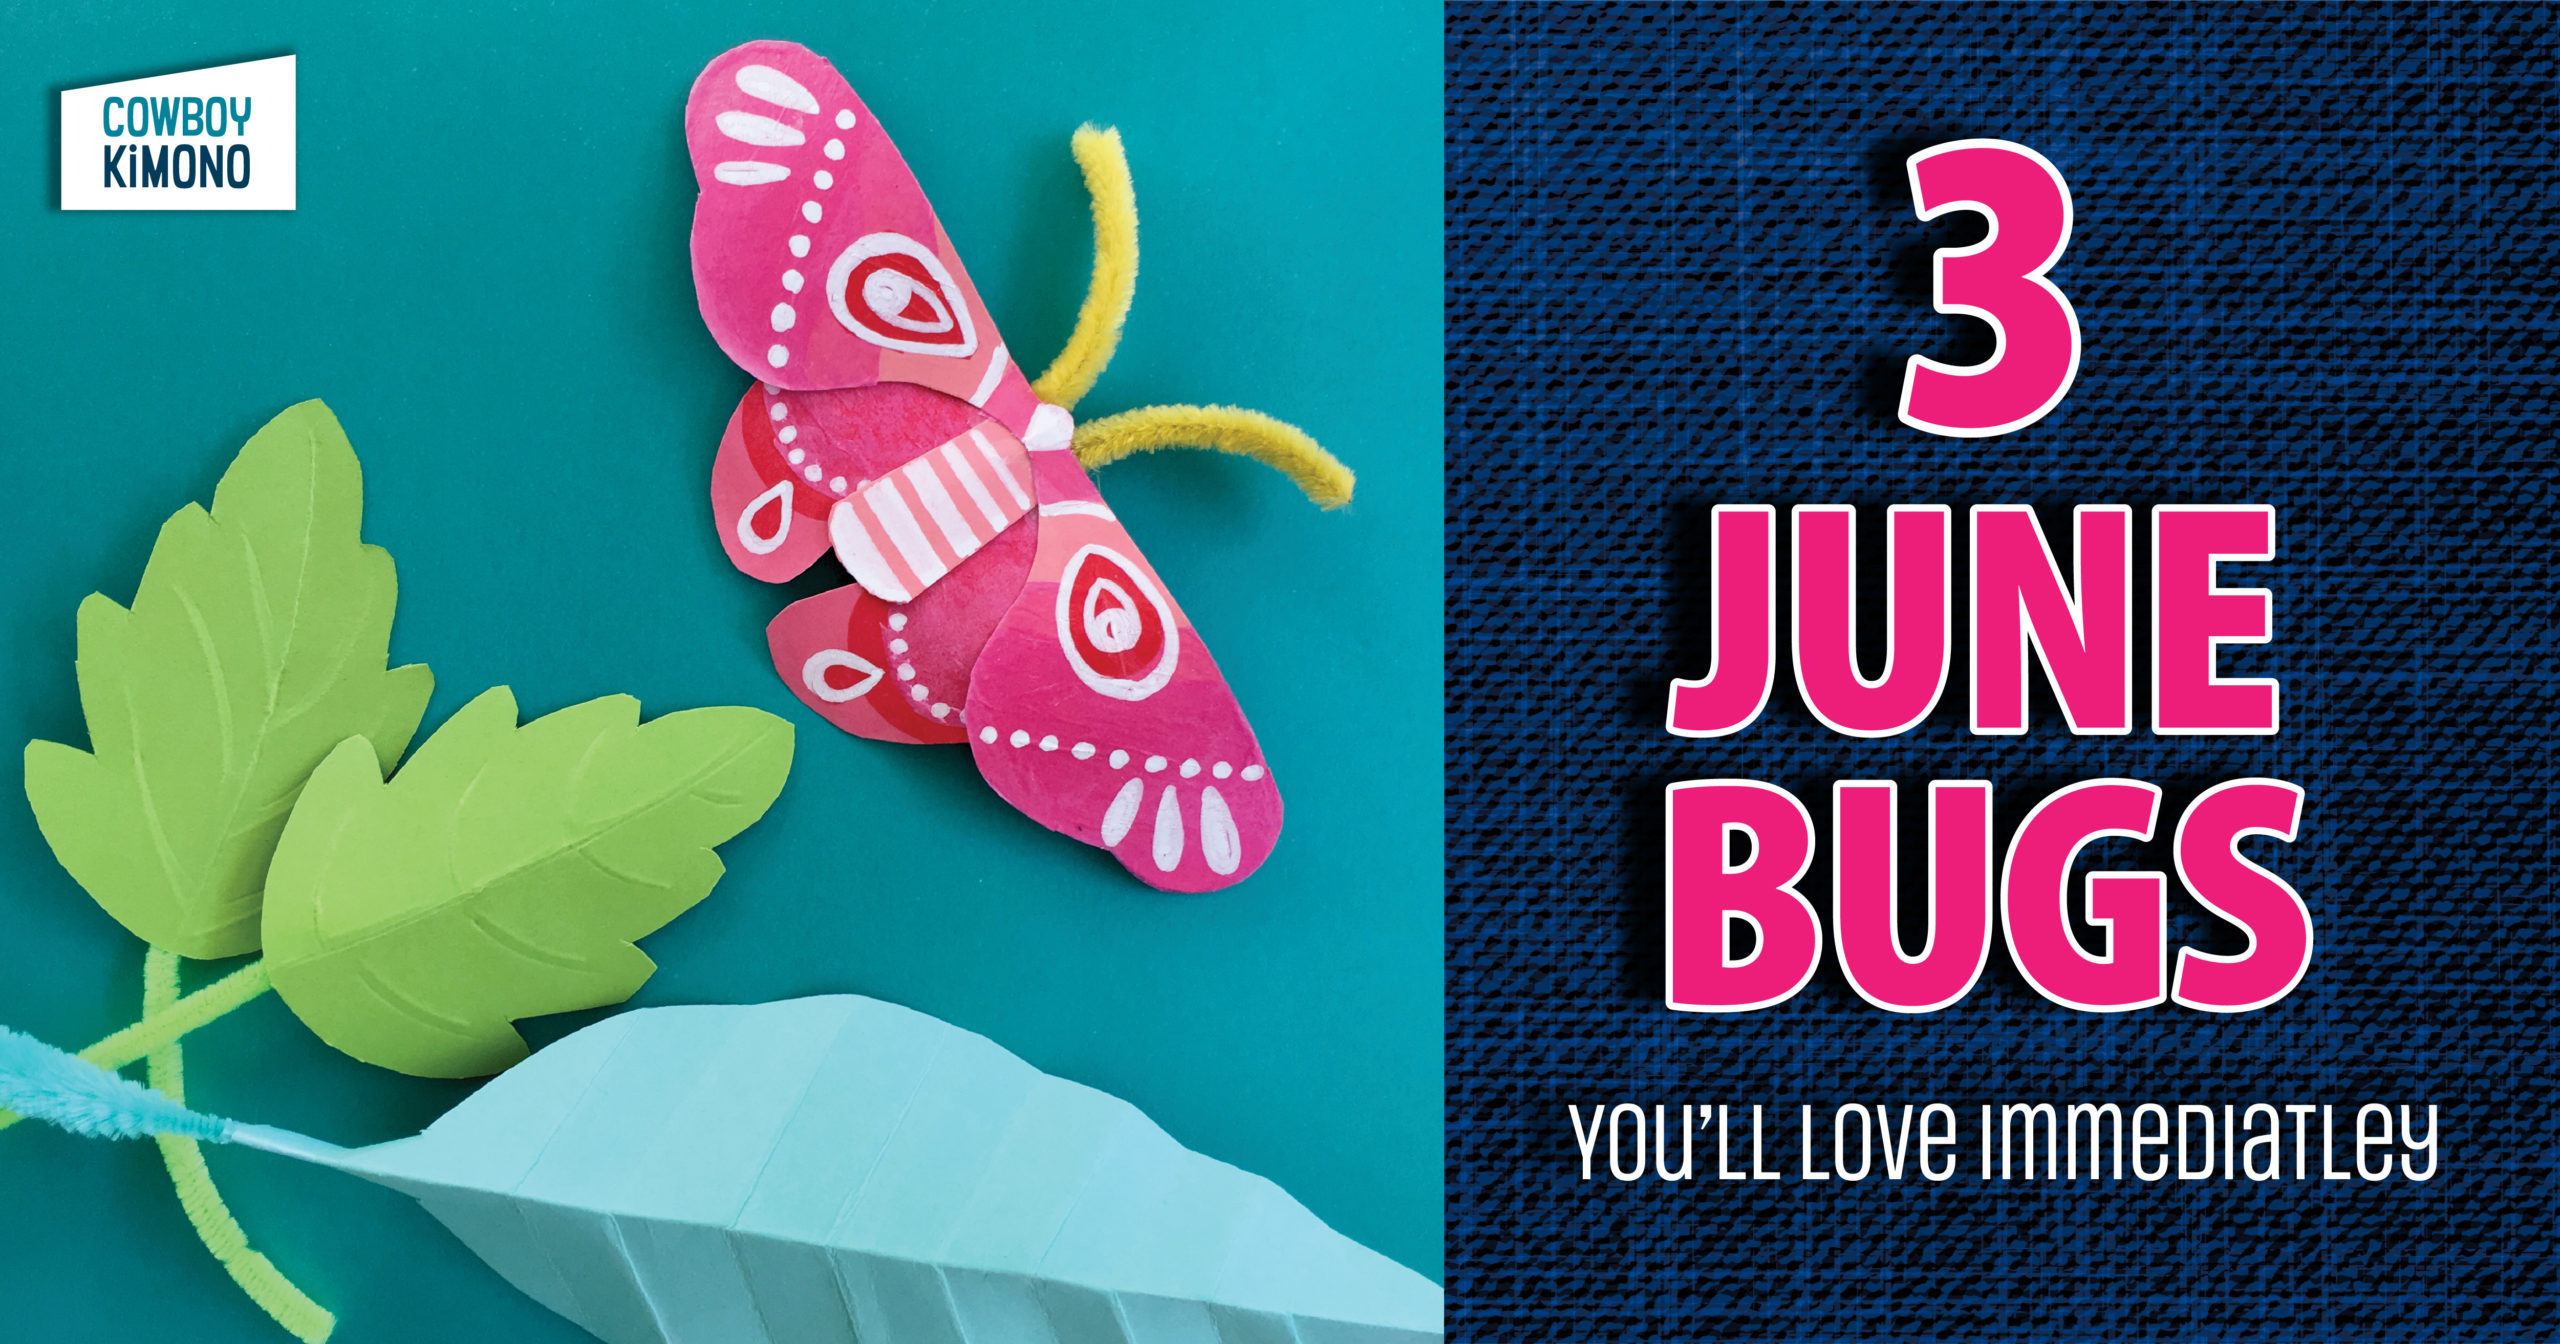
Still trying to decide if this paper craft is cuter than, happy as, or crazy as (a June bug)
Read More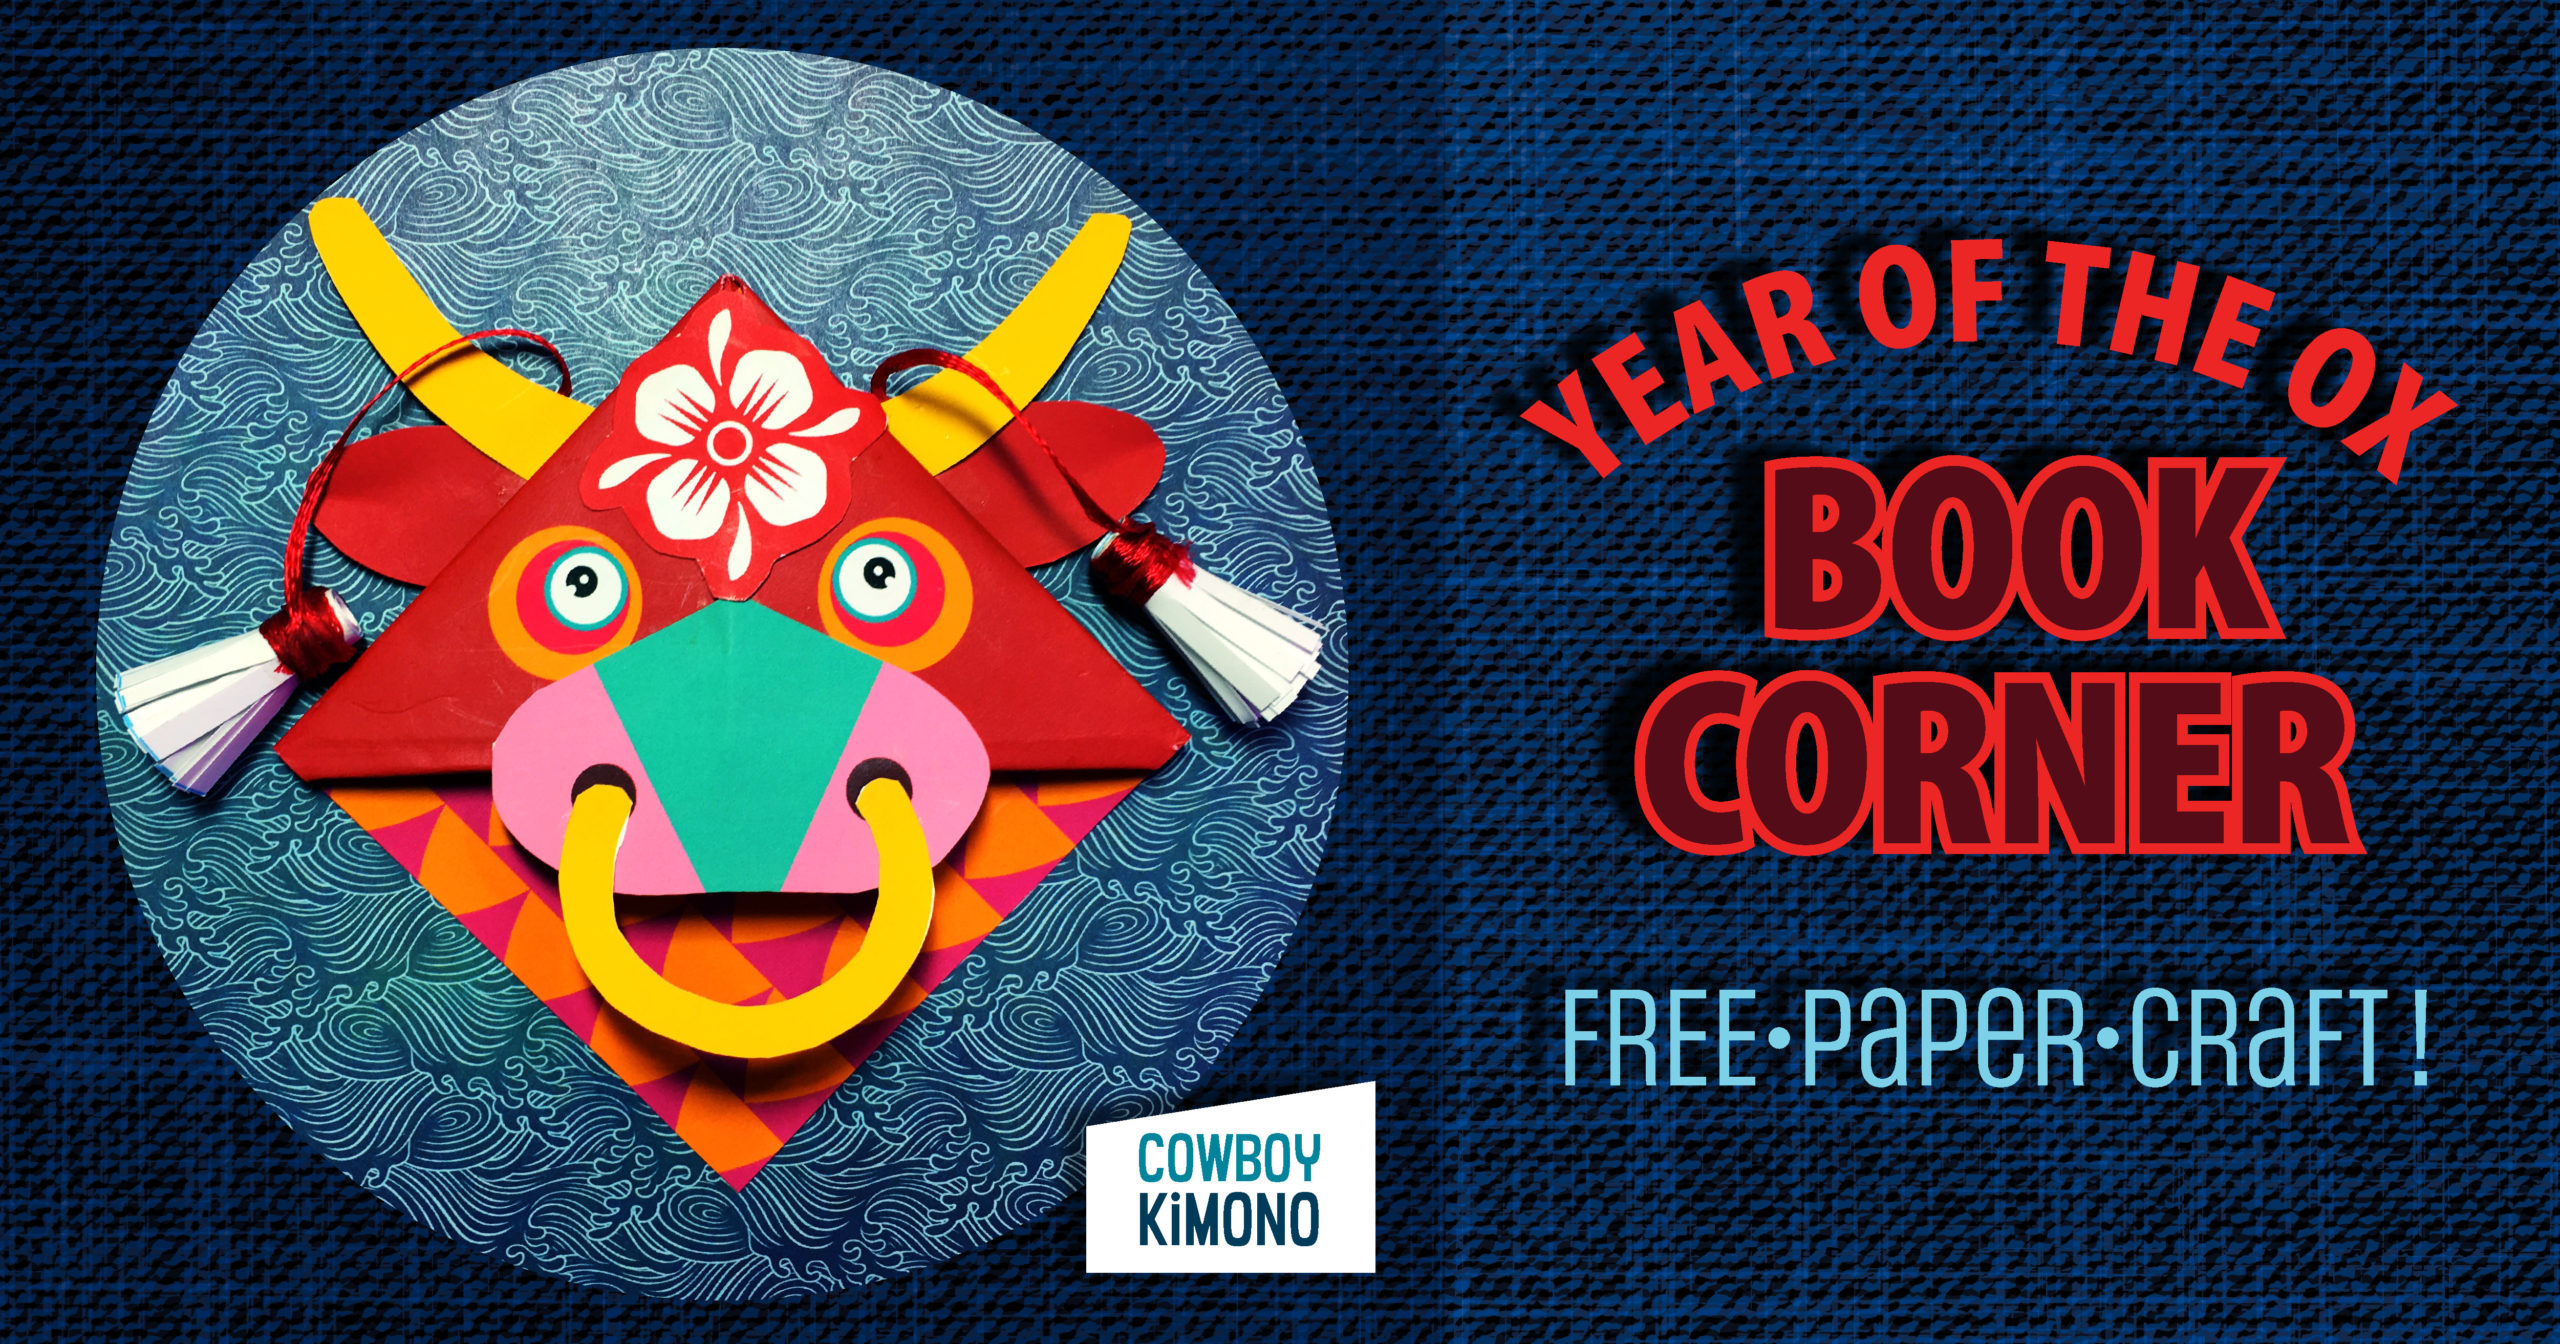
Welcome the Year of the Ox with an irresistible paper craft.
Read More
Another holiday season - I’m short on time and short on funds. Quick gifts that cost absolutely zero dollars (not even the price of a postage stamp).
Read More
You can catch a rare celestial event the evening of December 21, 2020 when the two largest planets in our solar system – Jupiter and Saturn – nearly overlap to form a “double planet.” This cosmic conjunction will occur on Winter Solstice marking the…
Read More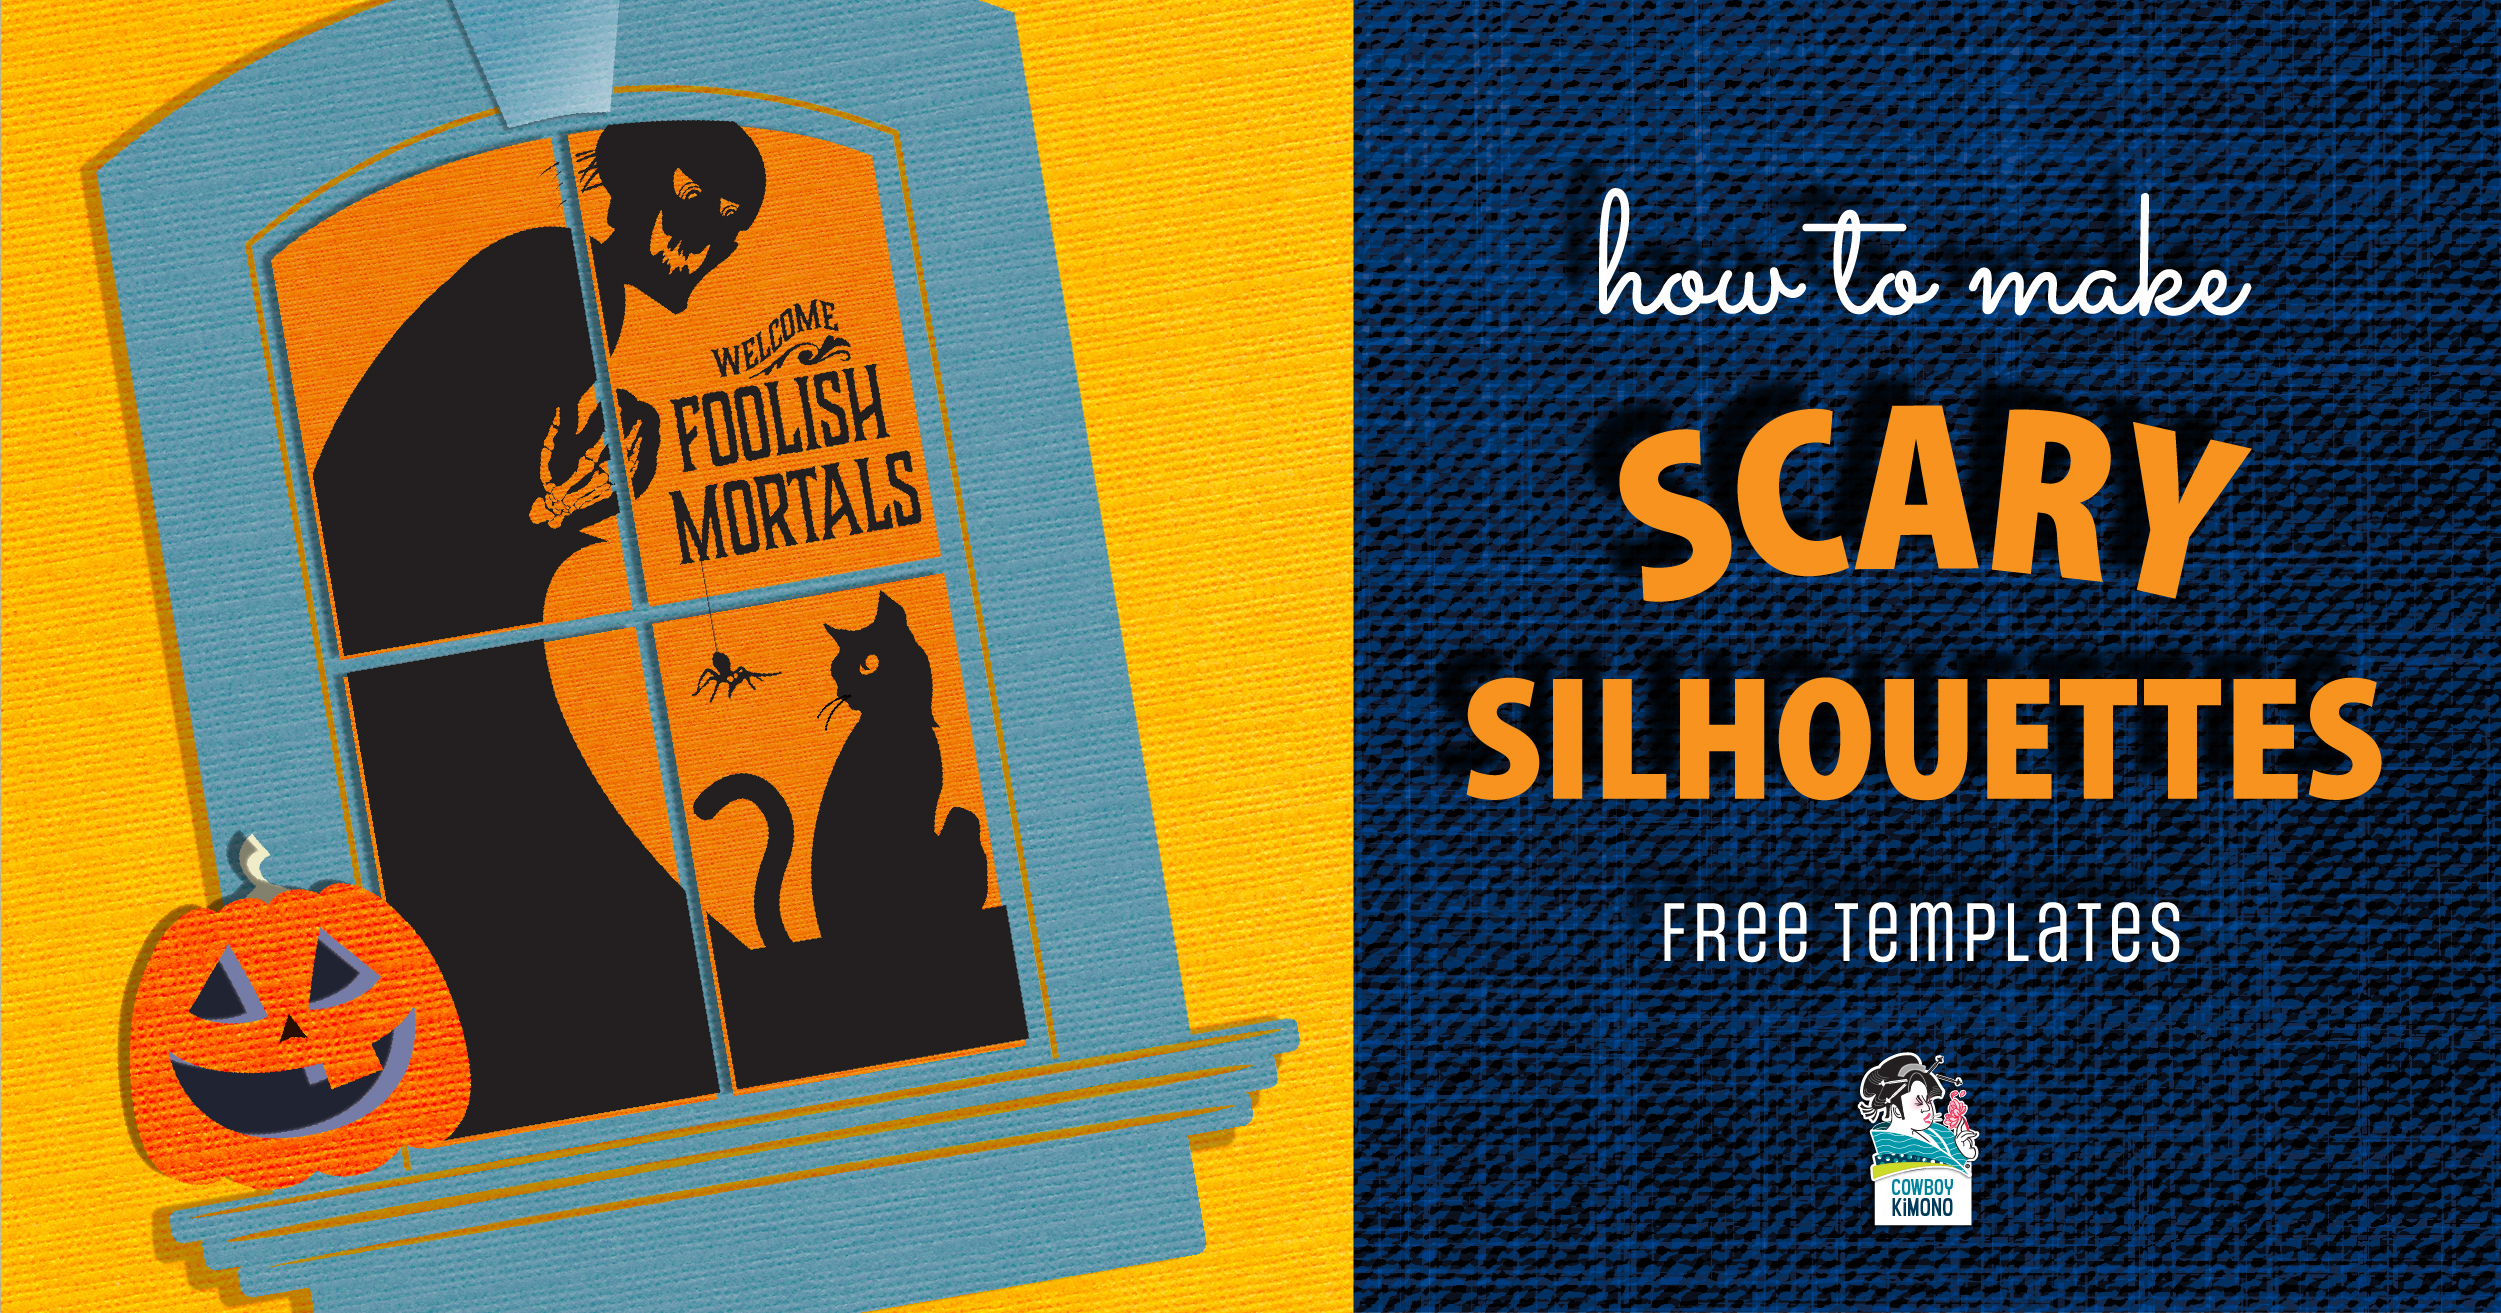
Want to warn would be trick-or-treaters? Sign Maker shares her hack for making a big foreboding sign on a window or glass door. Easy!
Read More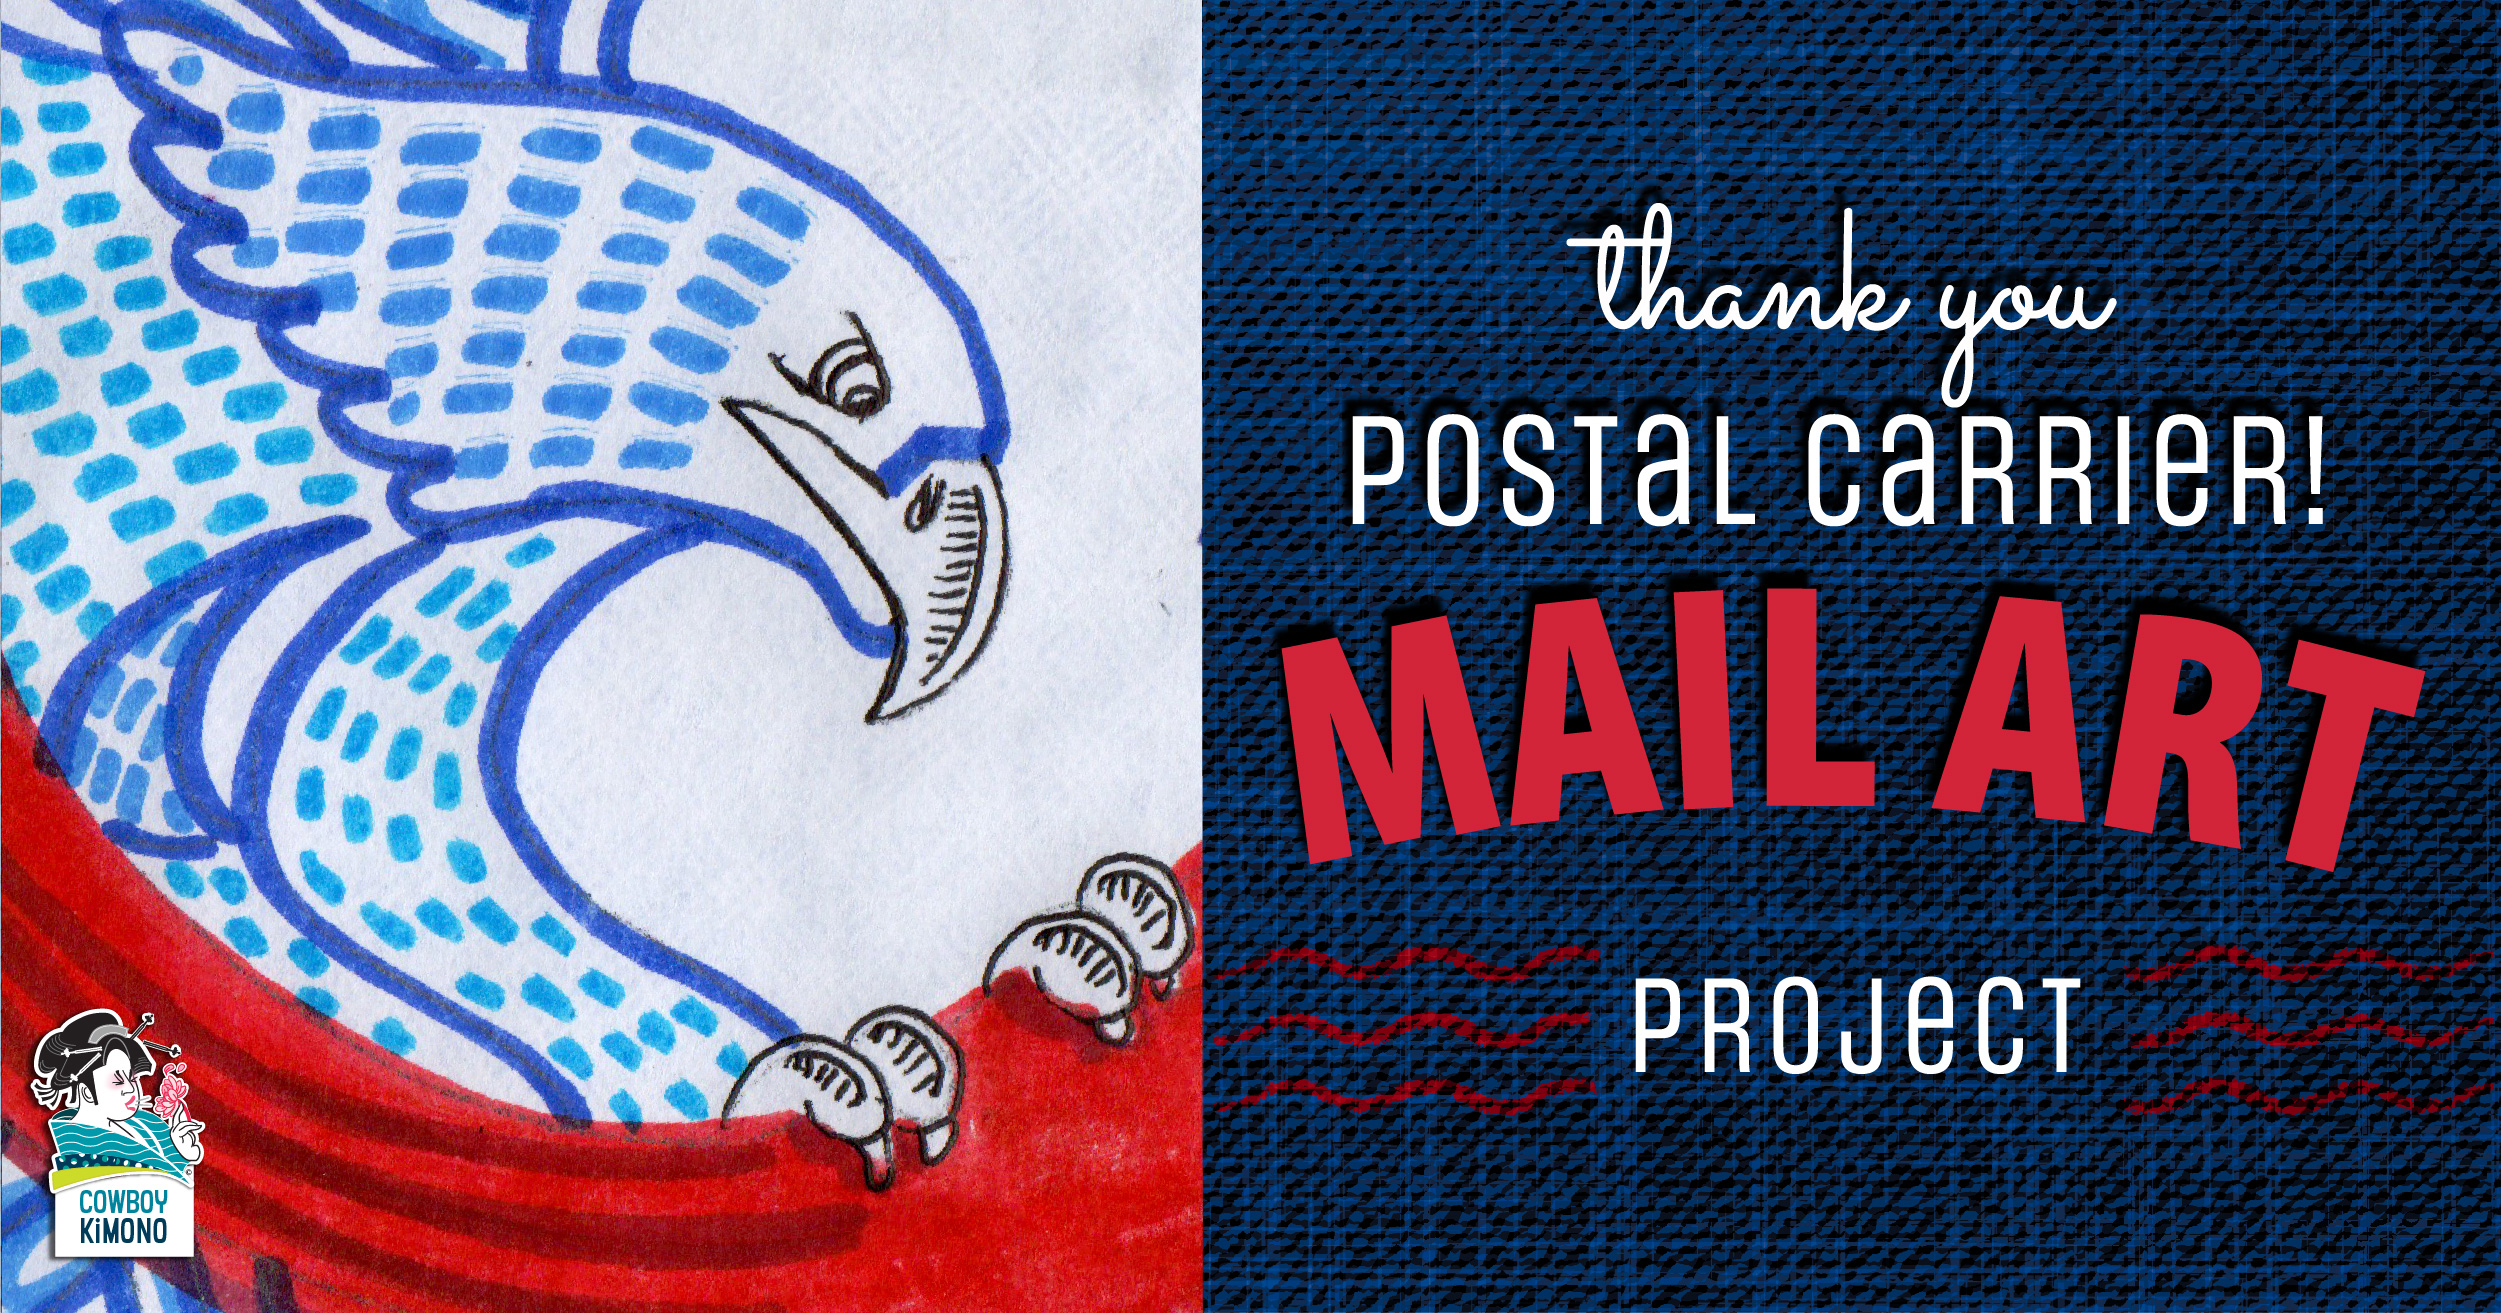
I think it is time to let my mail carrier know how much I appreciate the dedication, doggedness, drive, and grit that is required to do the job in 2020. Here's a mail art project just for that purpose:
Read More
An easy Labor Day Craft to thank the many workers who have met the pandemic's challenges with gusto!
Read More