Categories
Craft Projects
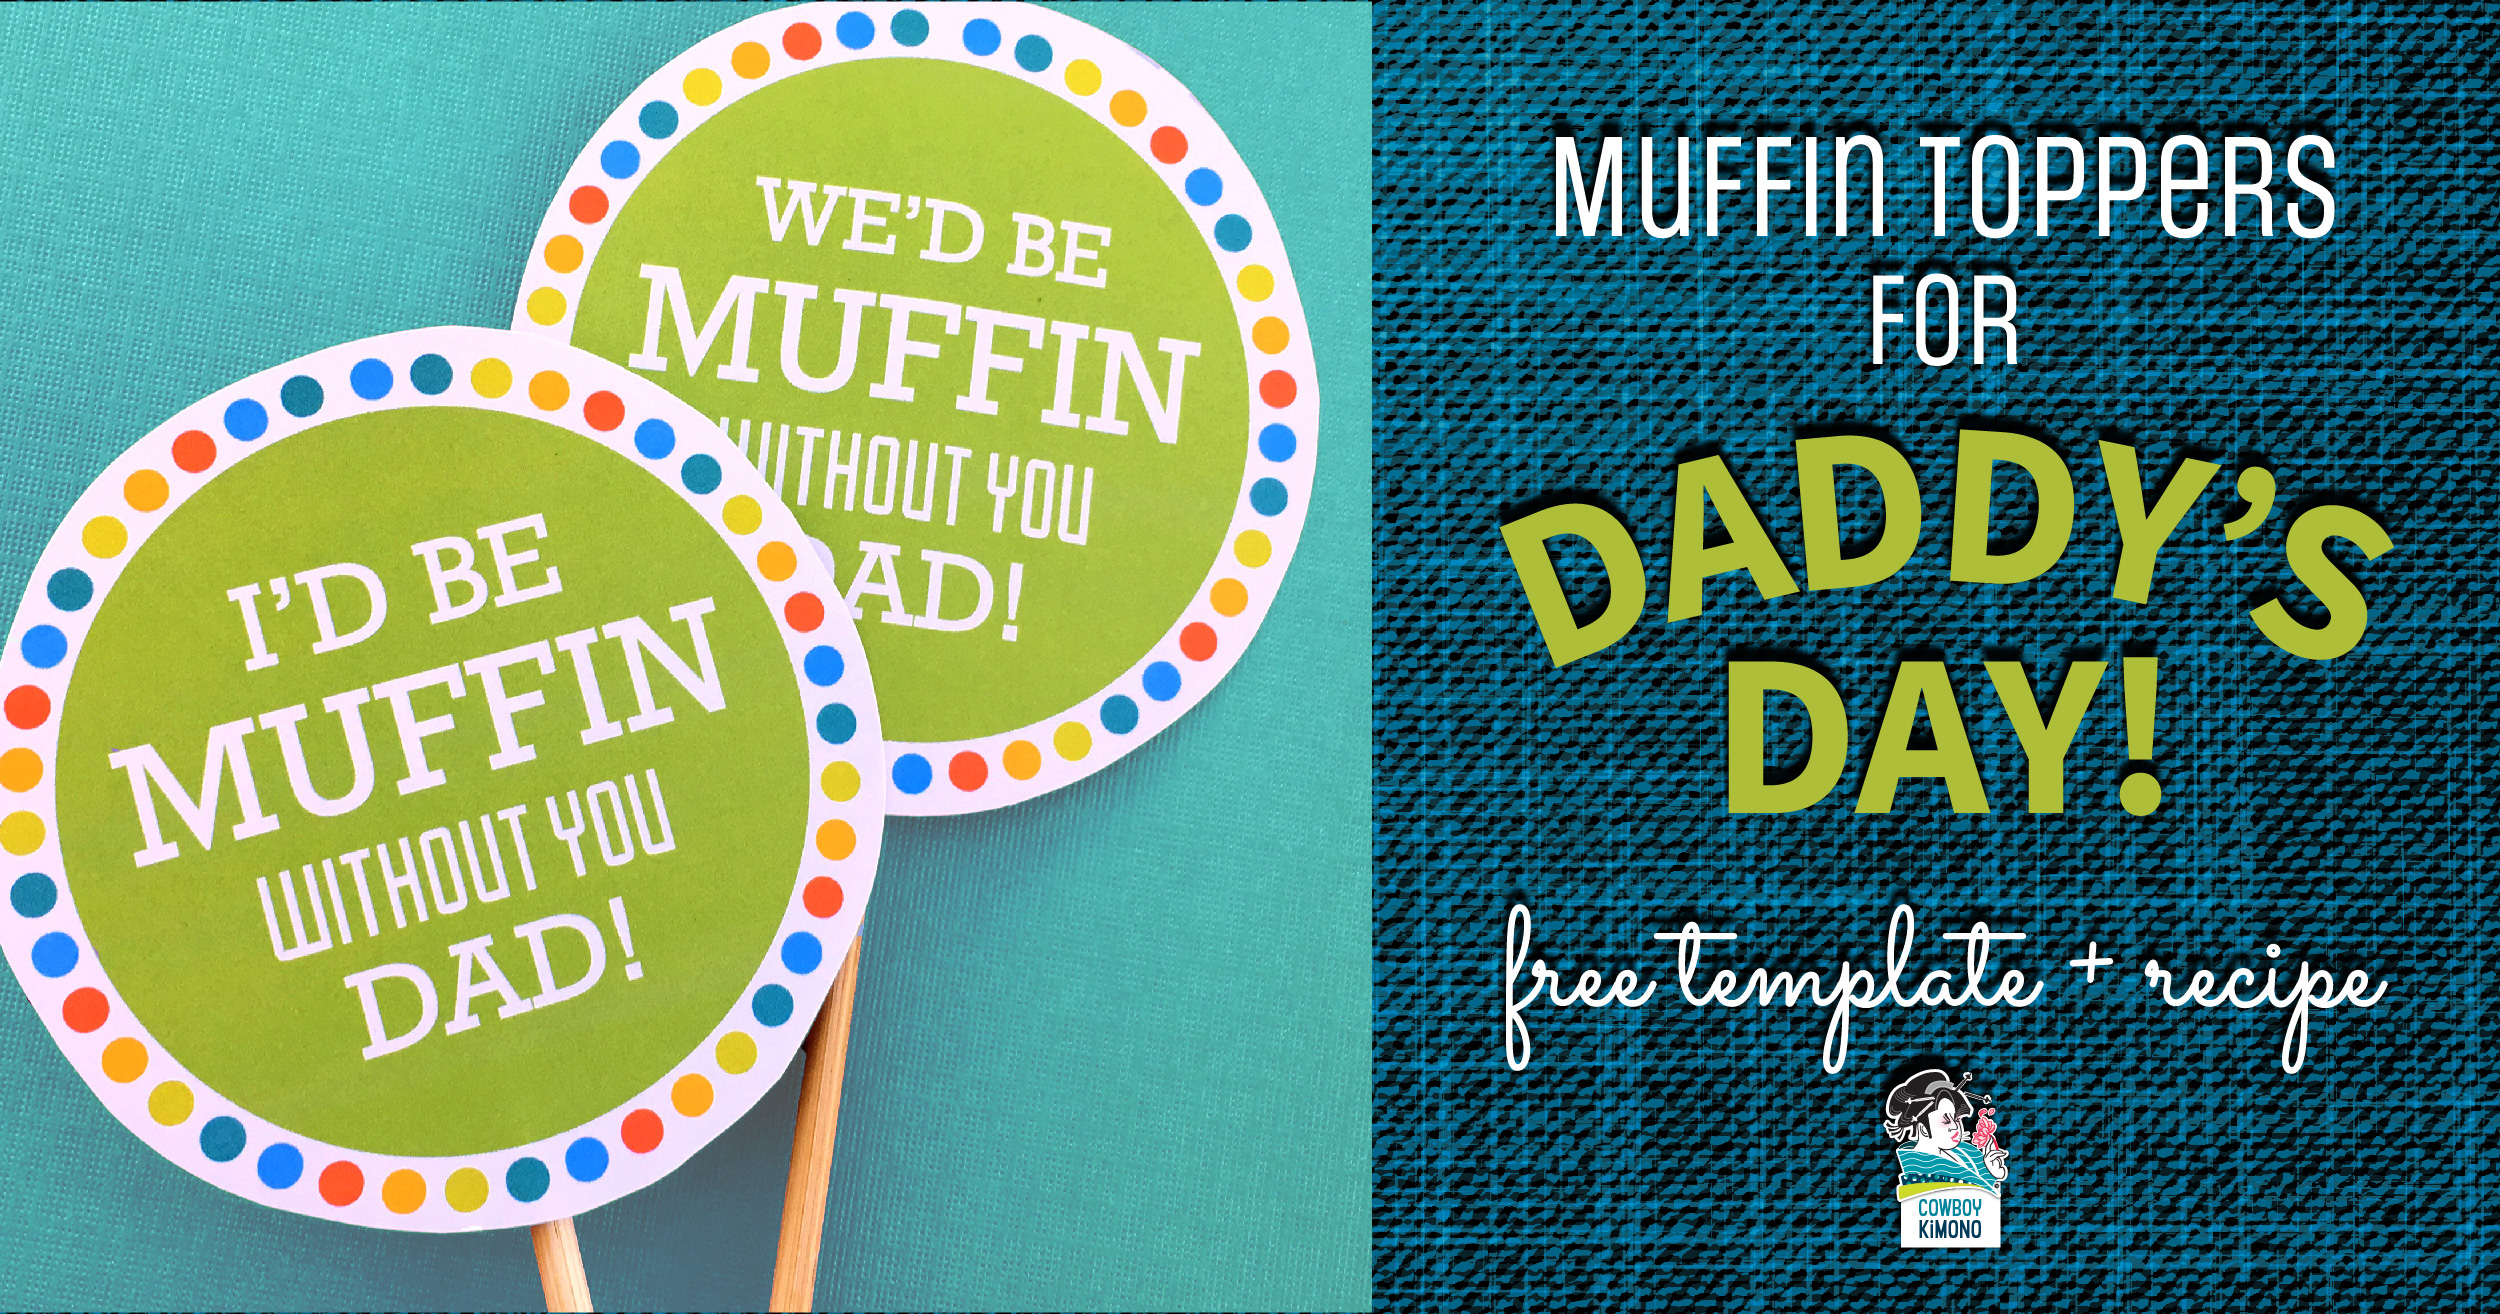
Yum. Father’s Day Craft
Father's Day Craft with a free template and muffin recipe.
Read More Father's Day Craft with a free template and muffin recipe.
Read More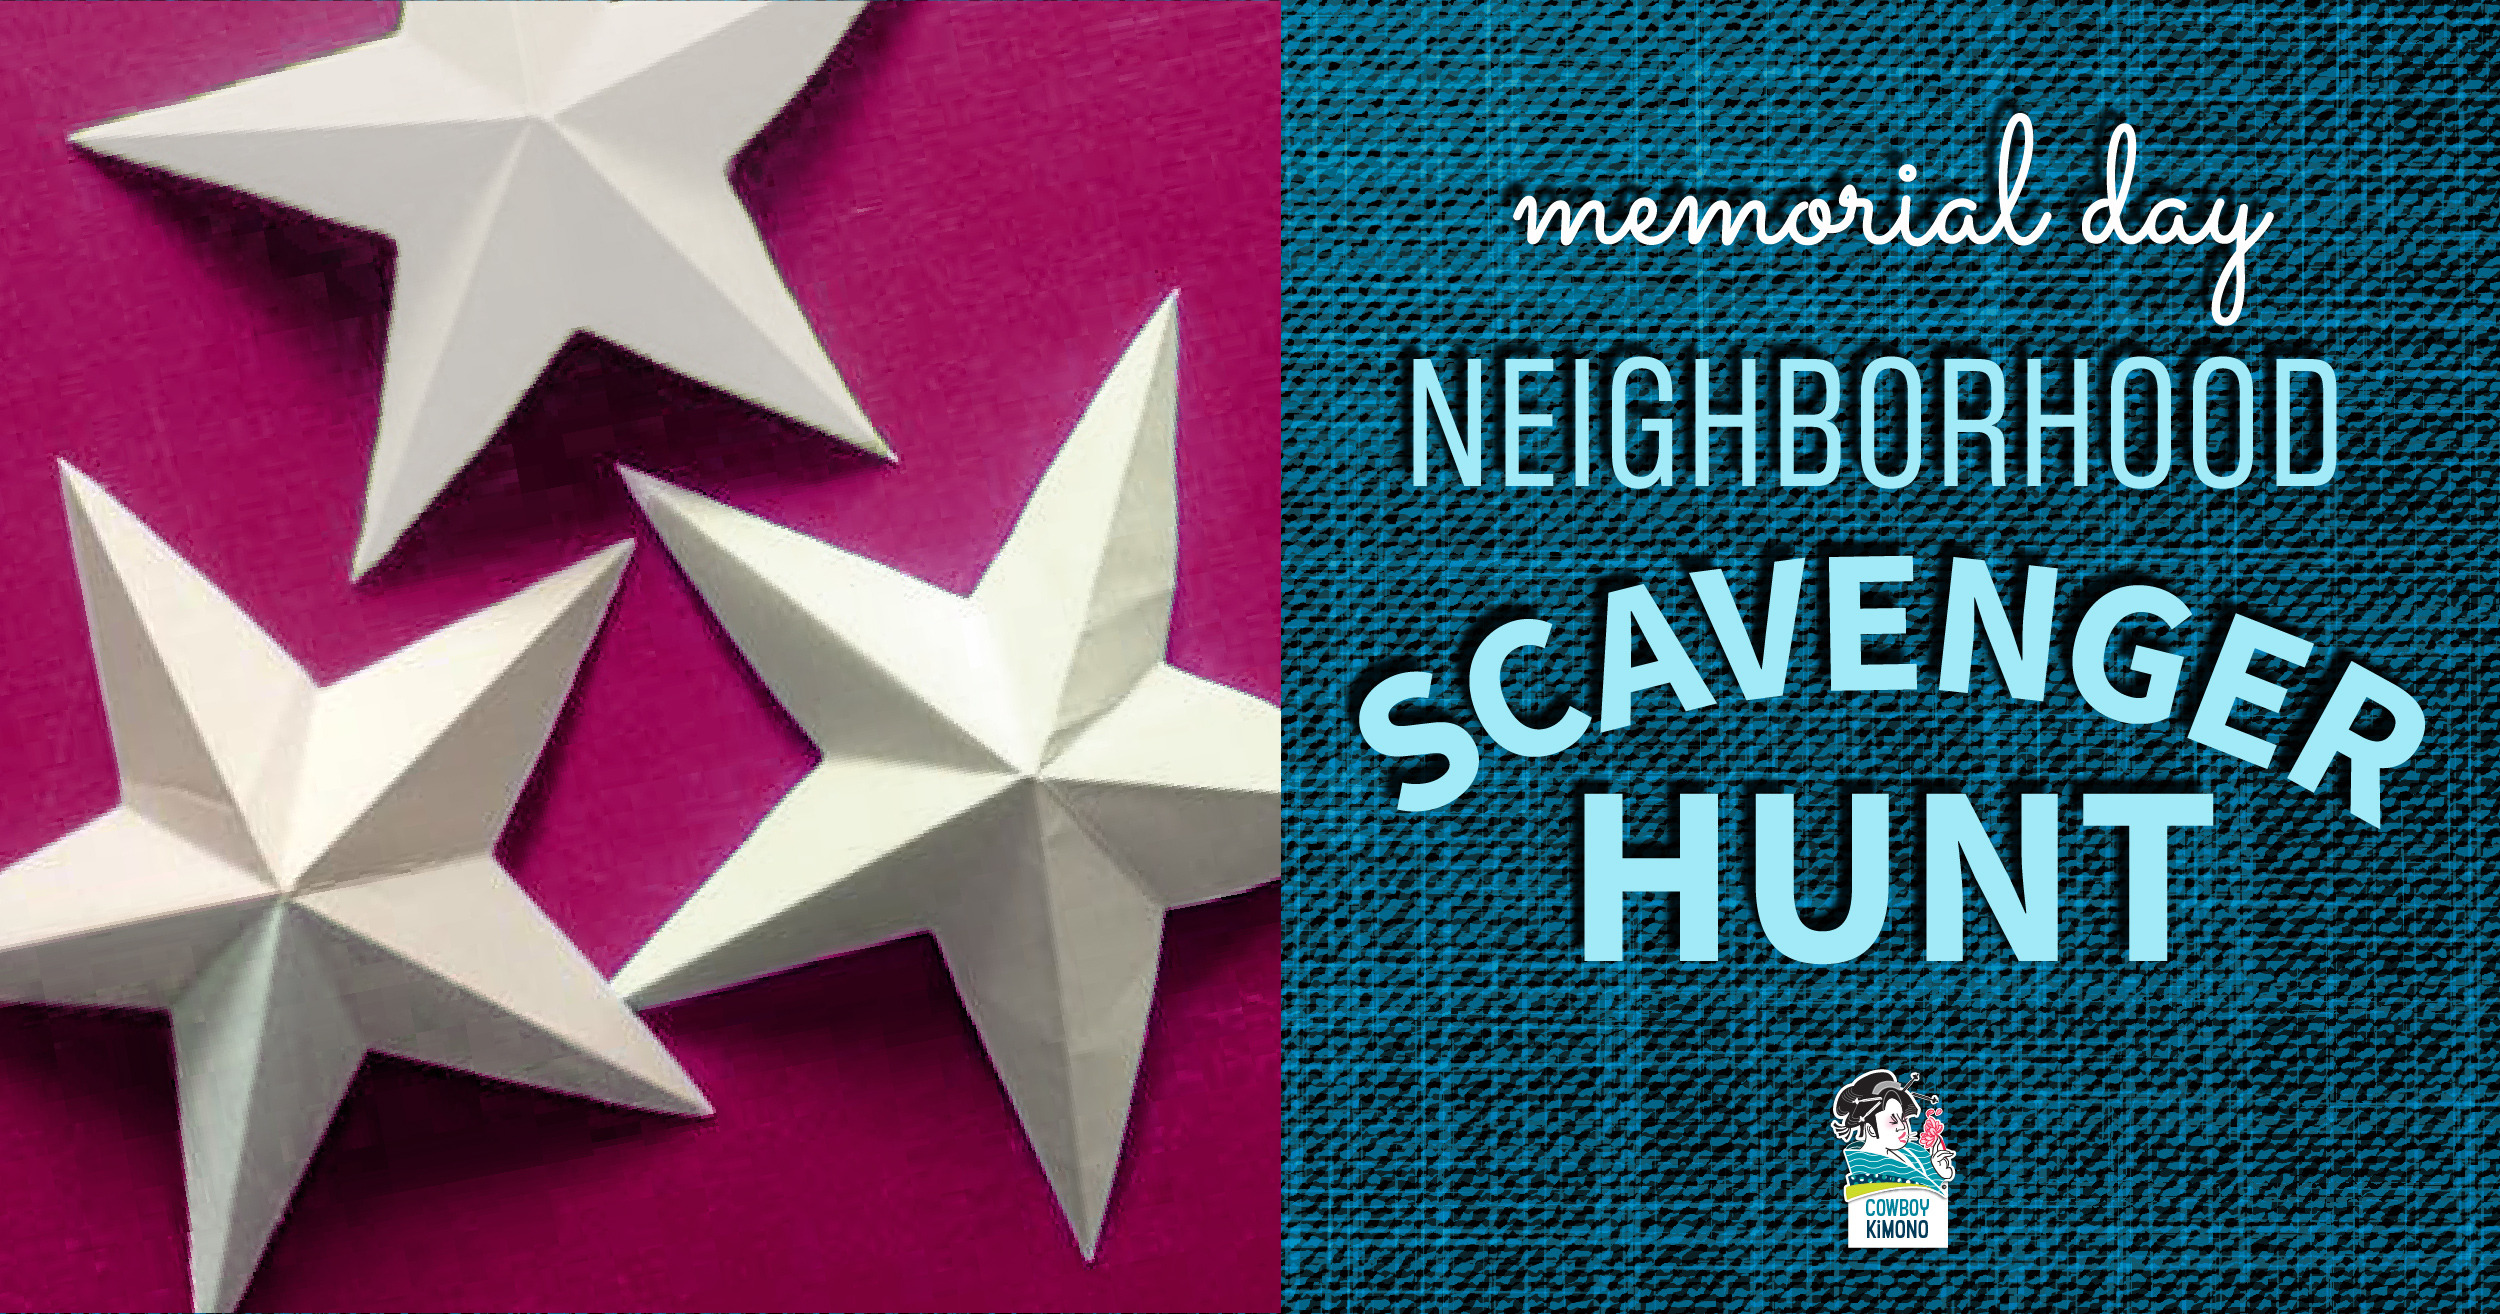
Locate patriotic symbols in your neighborhood with a game that combines walking with a scavenger hunt.
Read More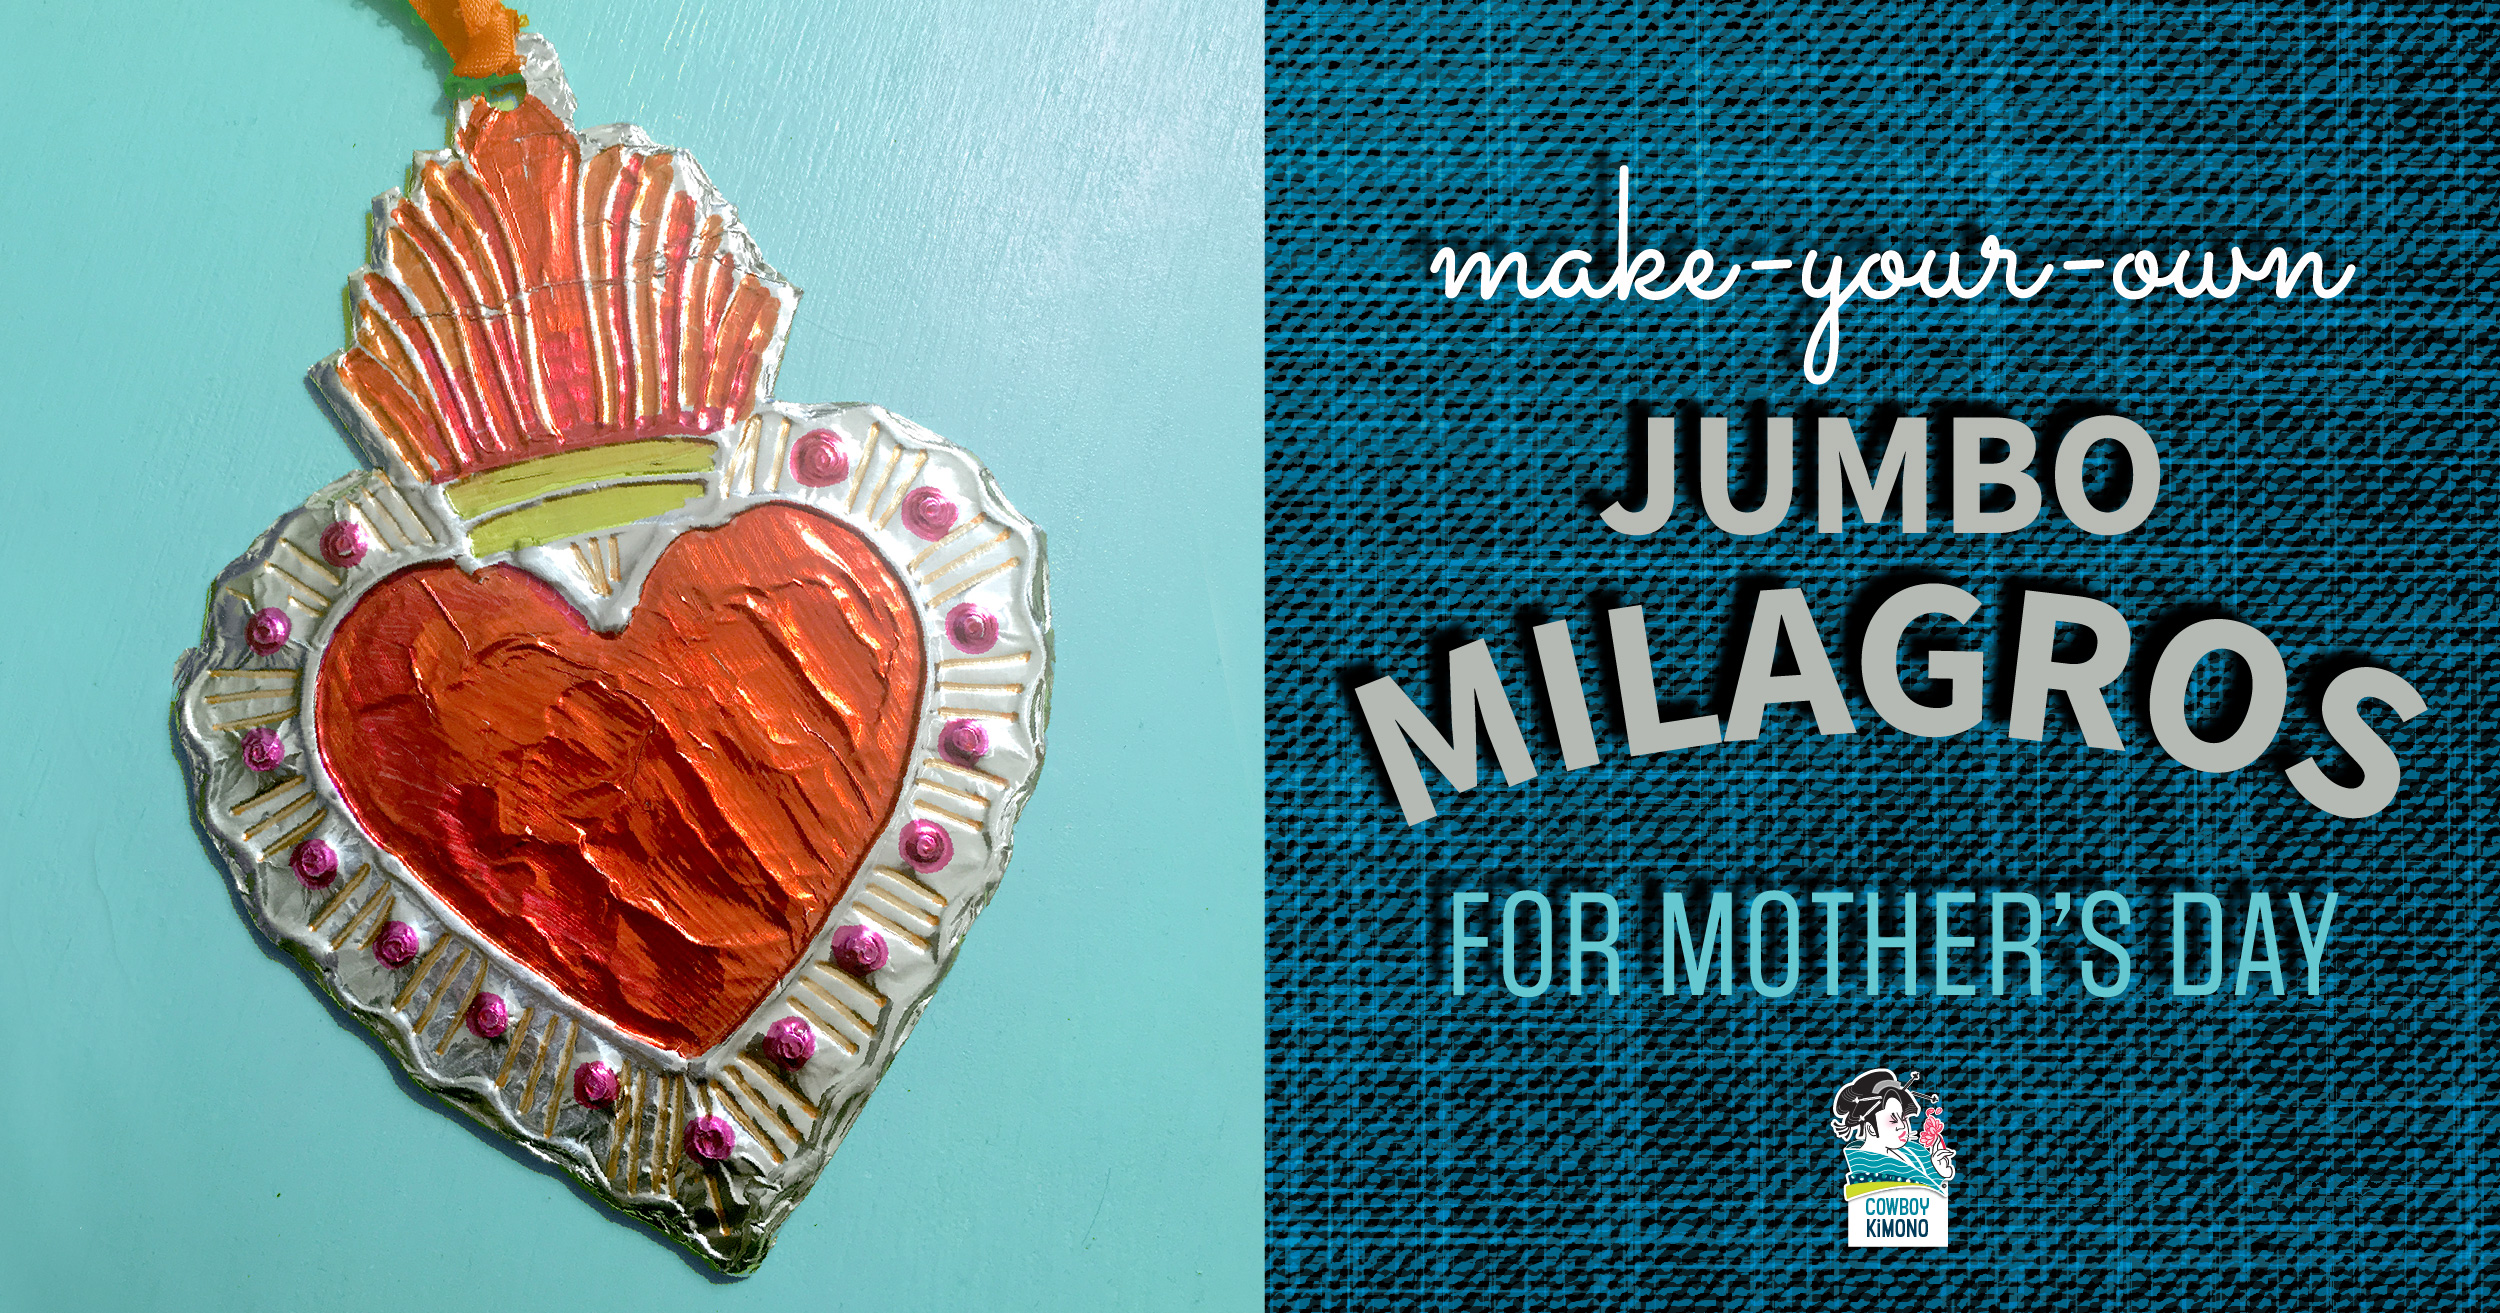
Mother's Day craft with a free template. Make a loud and proud Milagro Charm that screams to the world, "This is MY Mom and I LOVE HER! "
Read More
Whoops - spilled blue paint on my pants. My rescue plan using fabric paint and creating an indigo watercolor flower pattern. Here's how.
Read More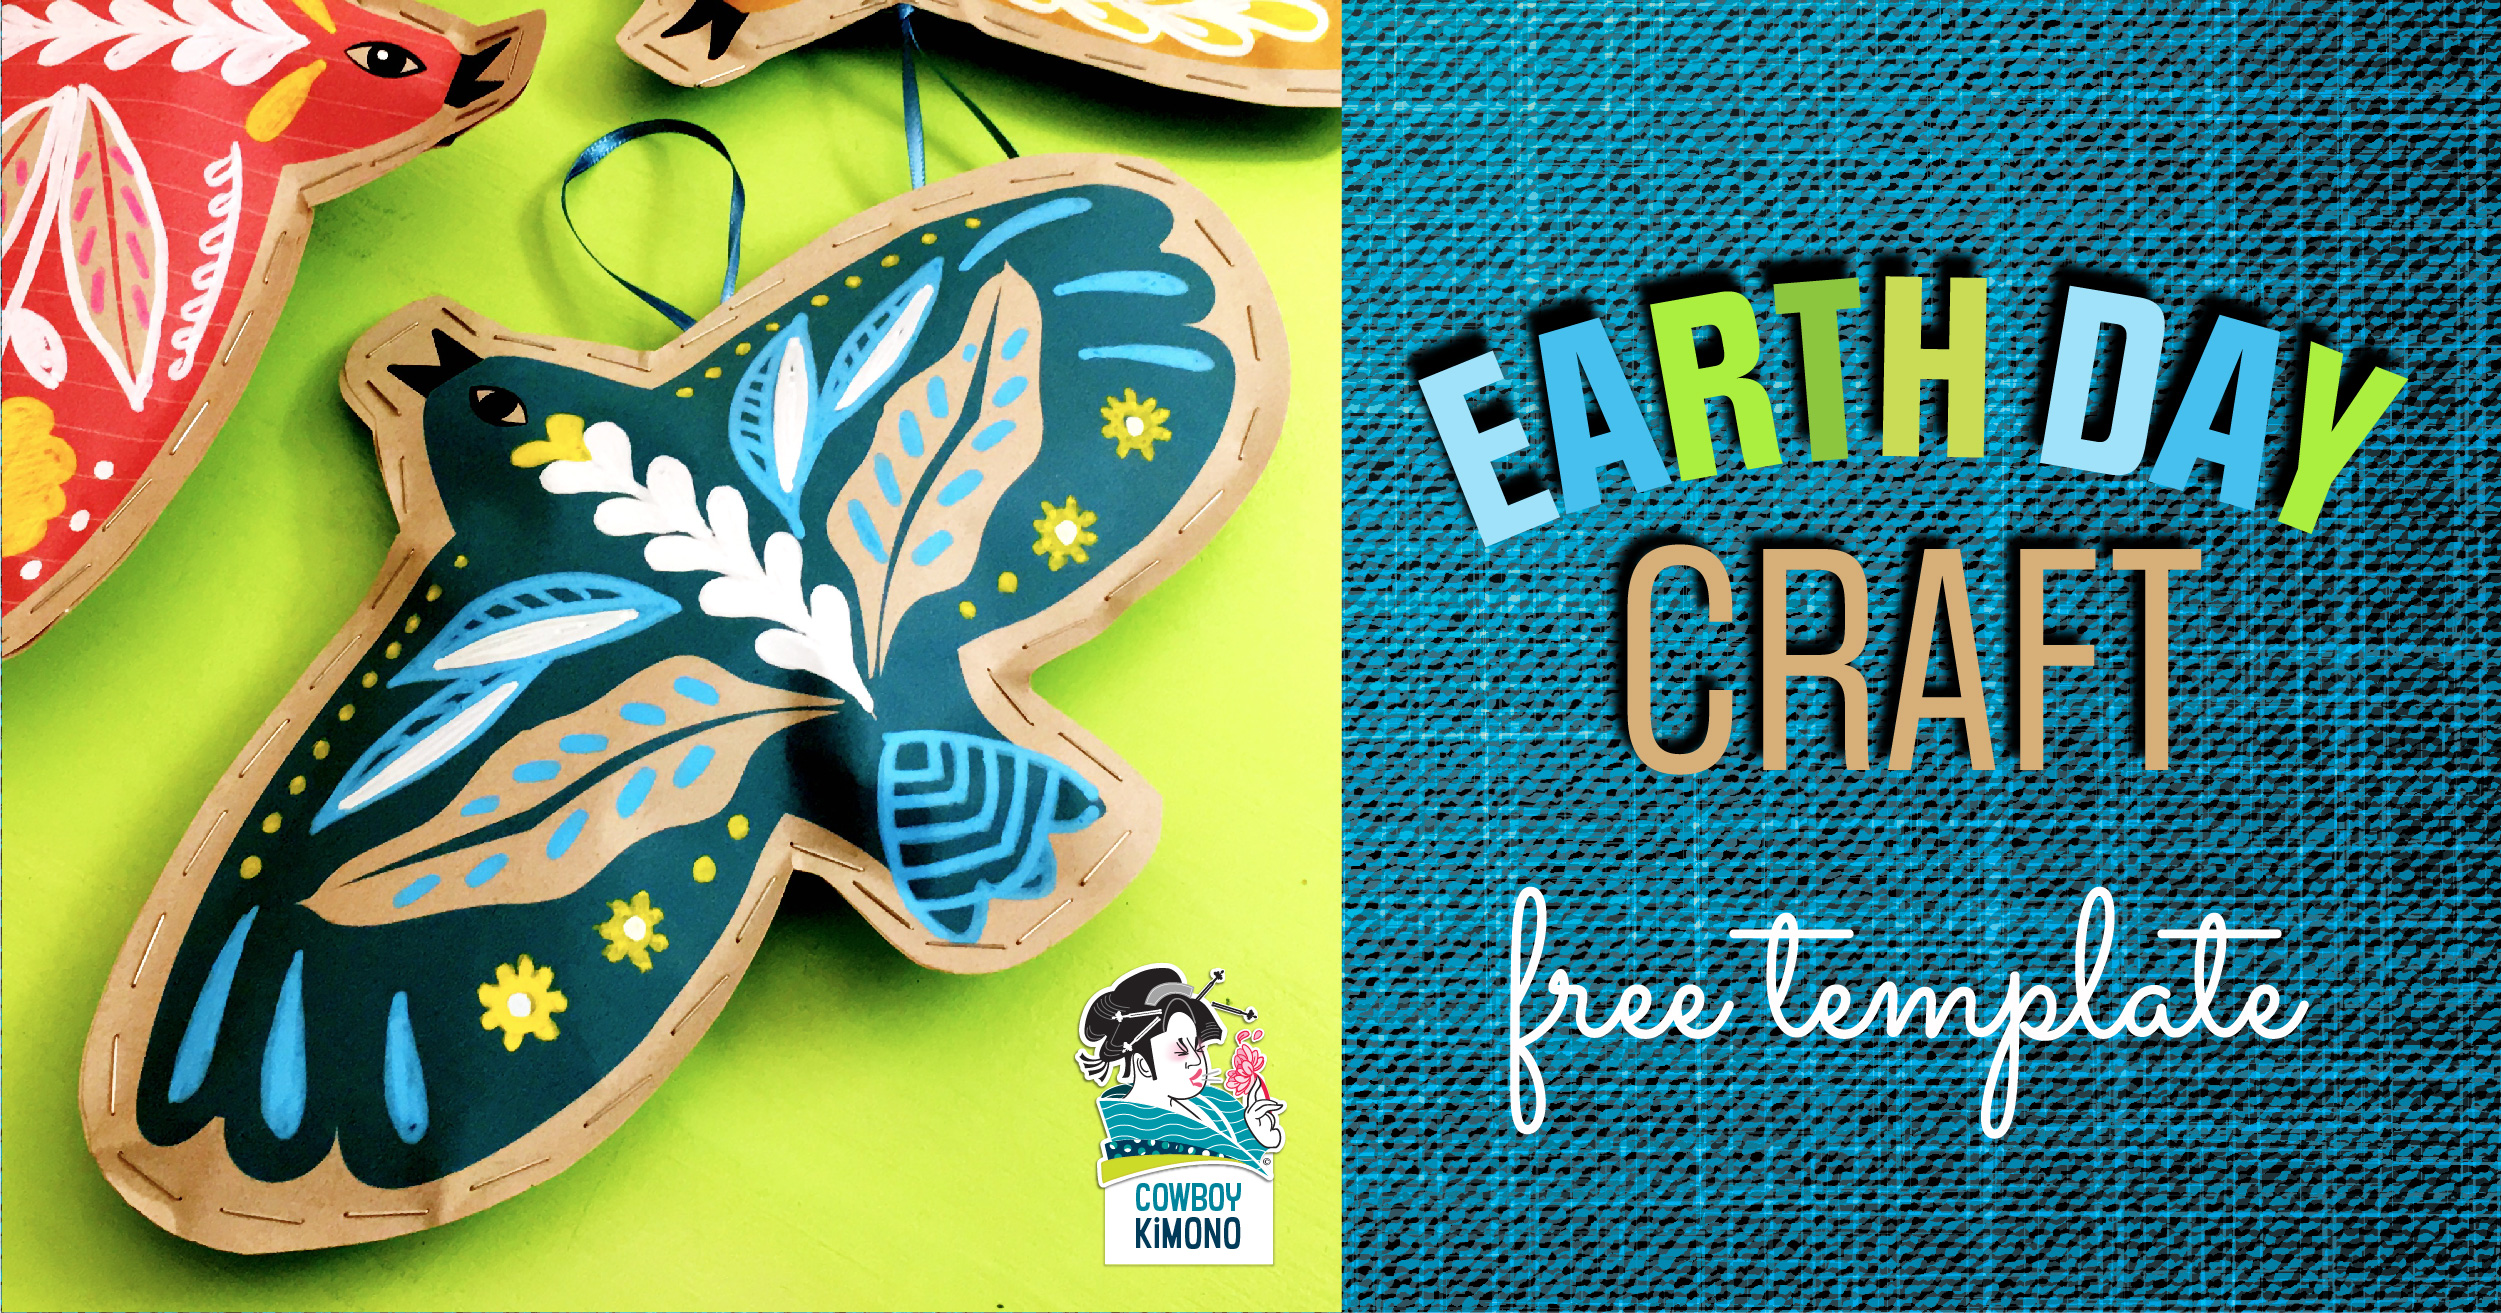
Celebrate Earth Day by painting paper pollinators and honor the earth by upcycling waste found around the house.
Read More
Explore marker blending techniques, watercolor tricks, and doodles to make this mail art cactus patch
Read More
My Mom was a mail magician. She would make letters appear a few days into my week of summer camp. I’m not sure if she wrote them the moment after she dropped me off or if she had them written before I…
Read More