Categories
Studio
Animated Chalk Art
Converting chalk art drawings into an animated video ... with links to the videos I found most helpful.
Read More Converting chalk art drawings into an animated video ... with links to the videos I found most helpful.
Read More
Although there were a handful of design challenges, we were able to take four tired signs and breathe new life into them.
Read More
Chalk art on kitchen door transforms into an animated video.
Read More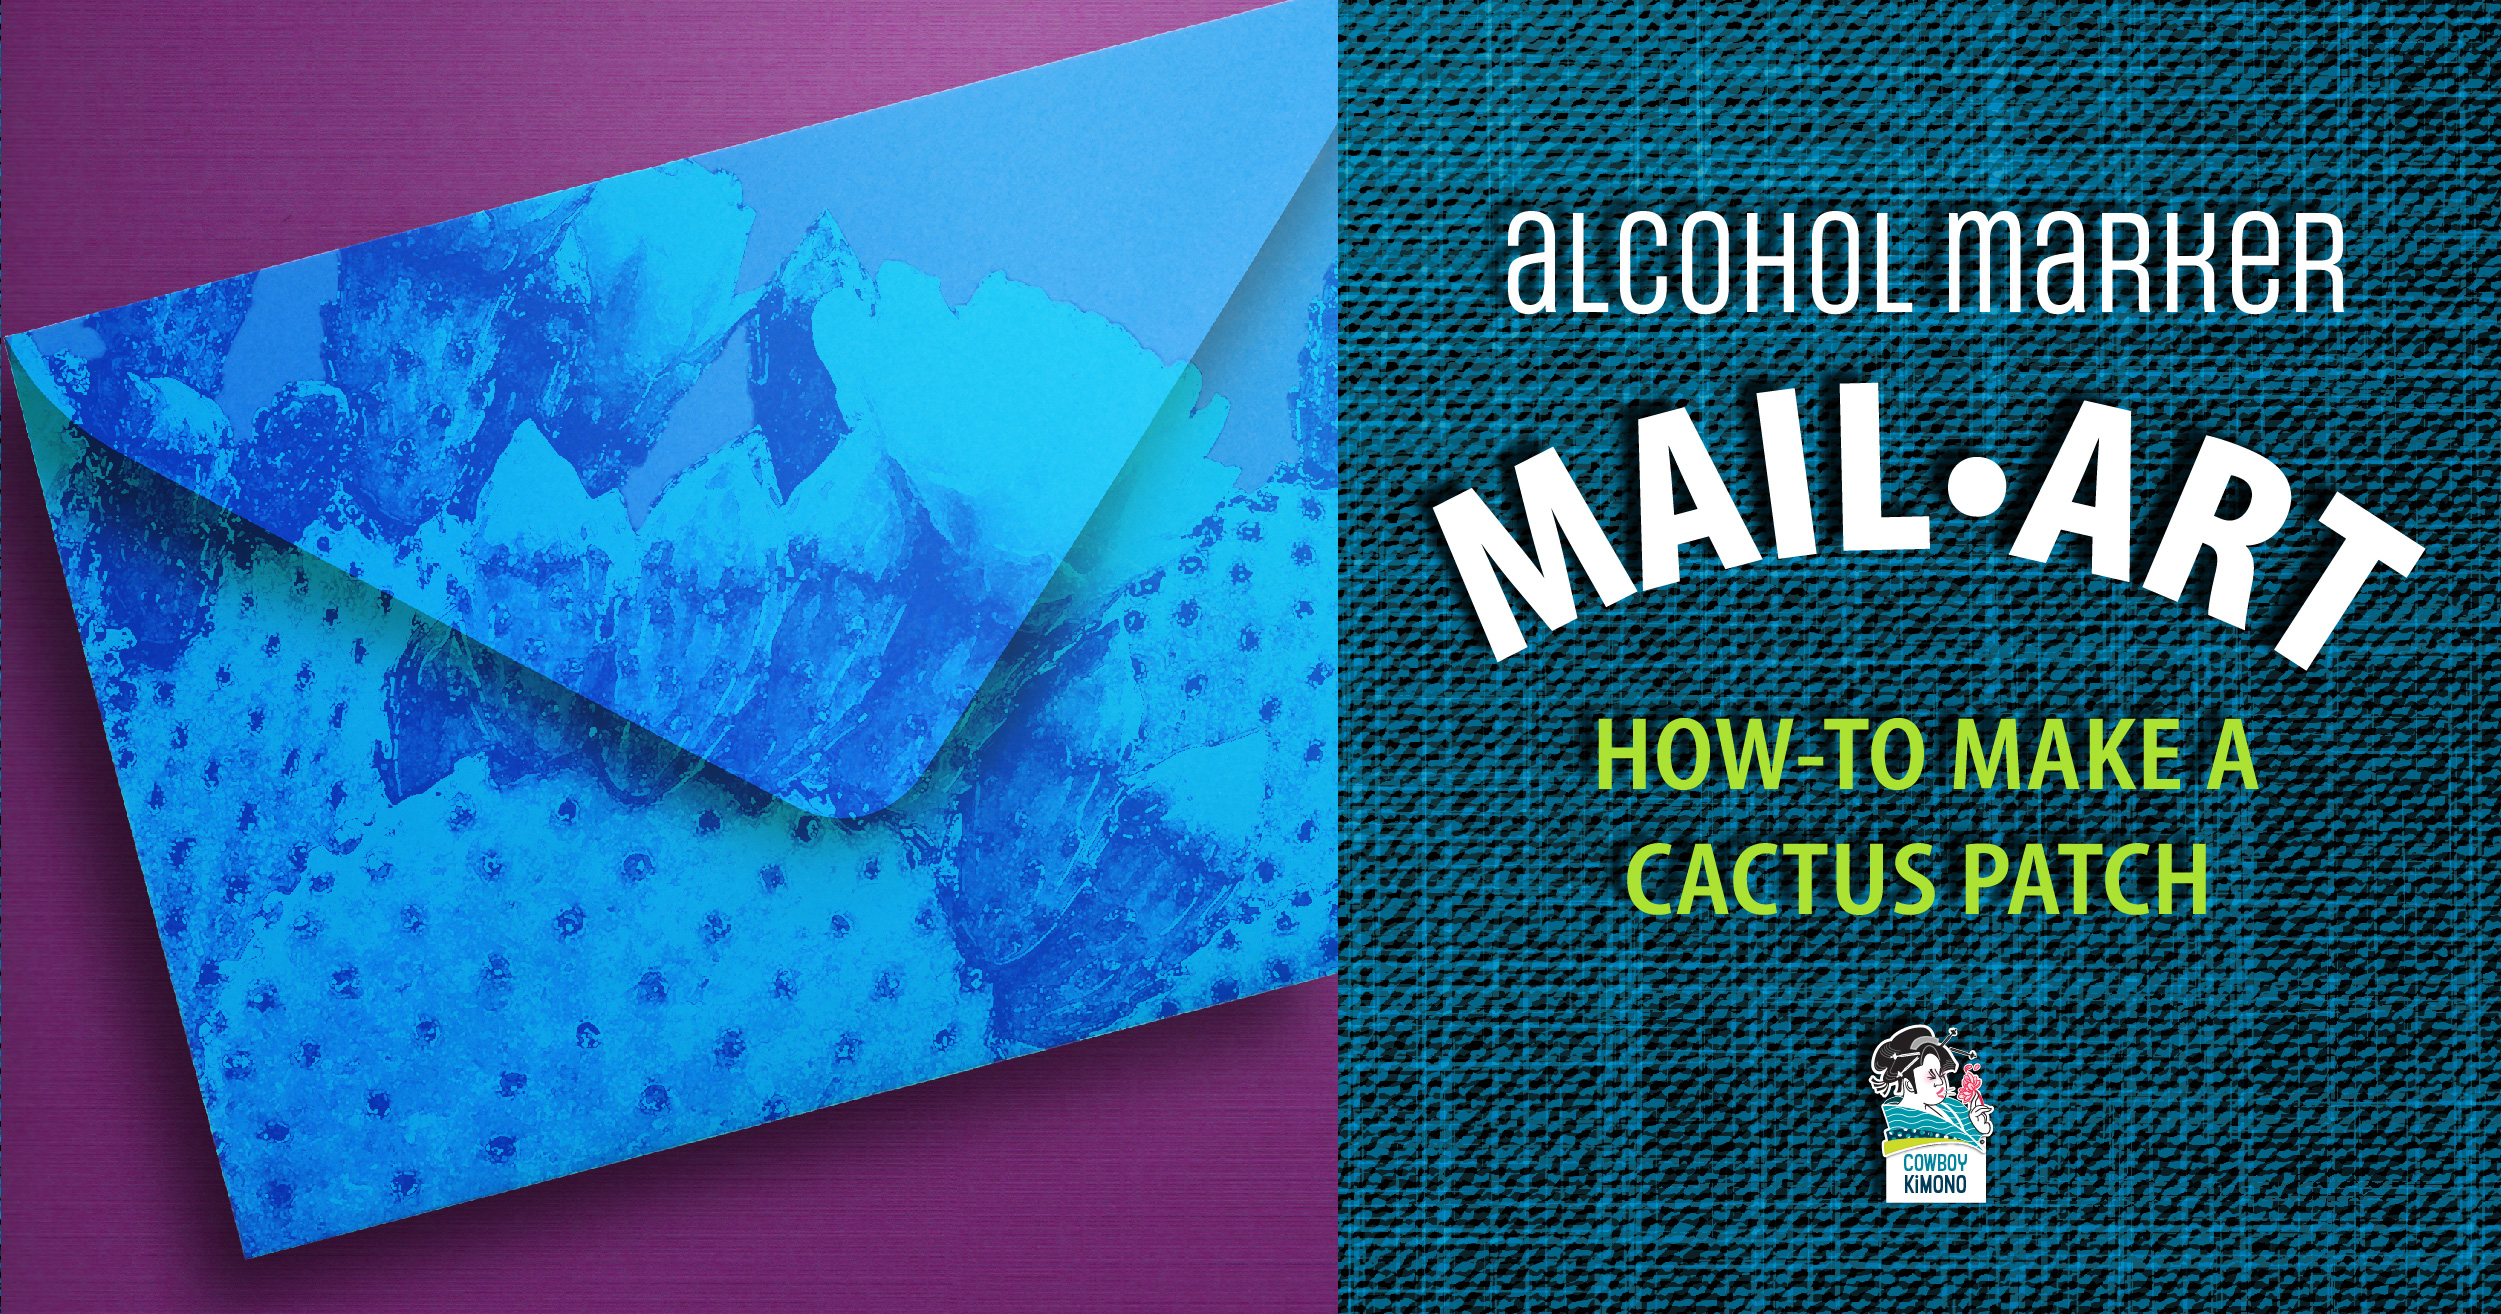
Explore marker blending techniques, watercolor tricks, and doodles to make this mail art cactus patch
Read More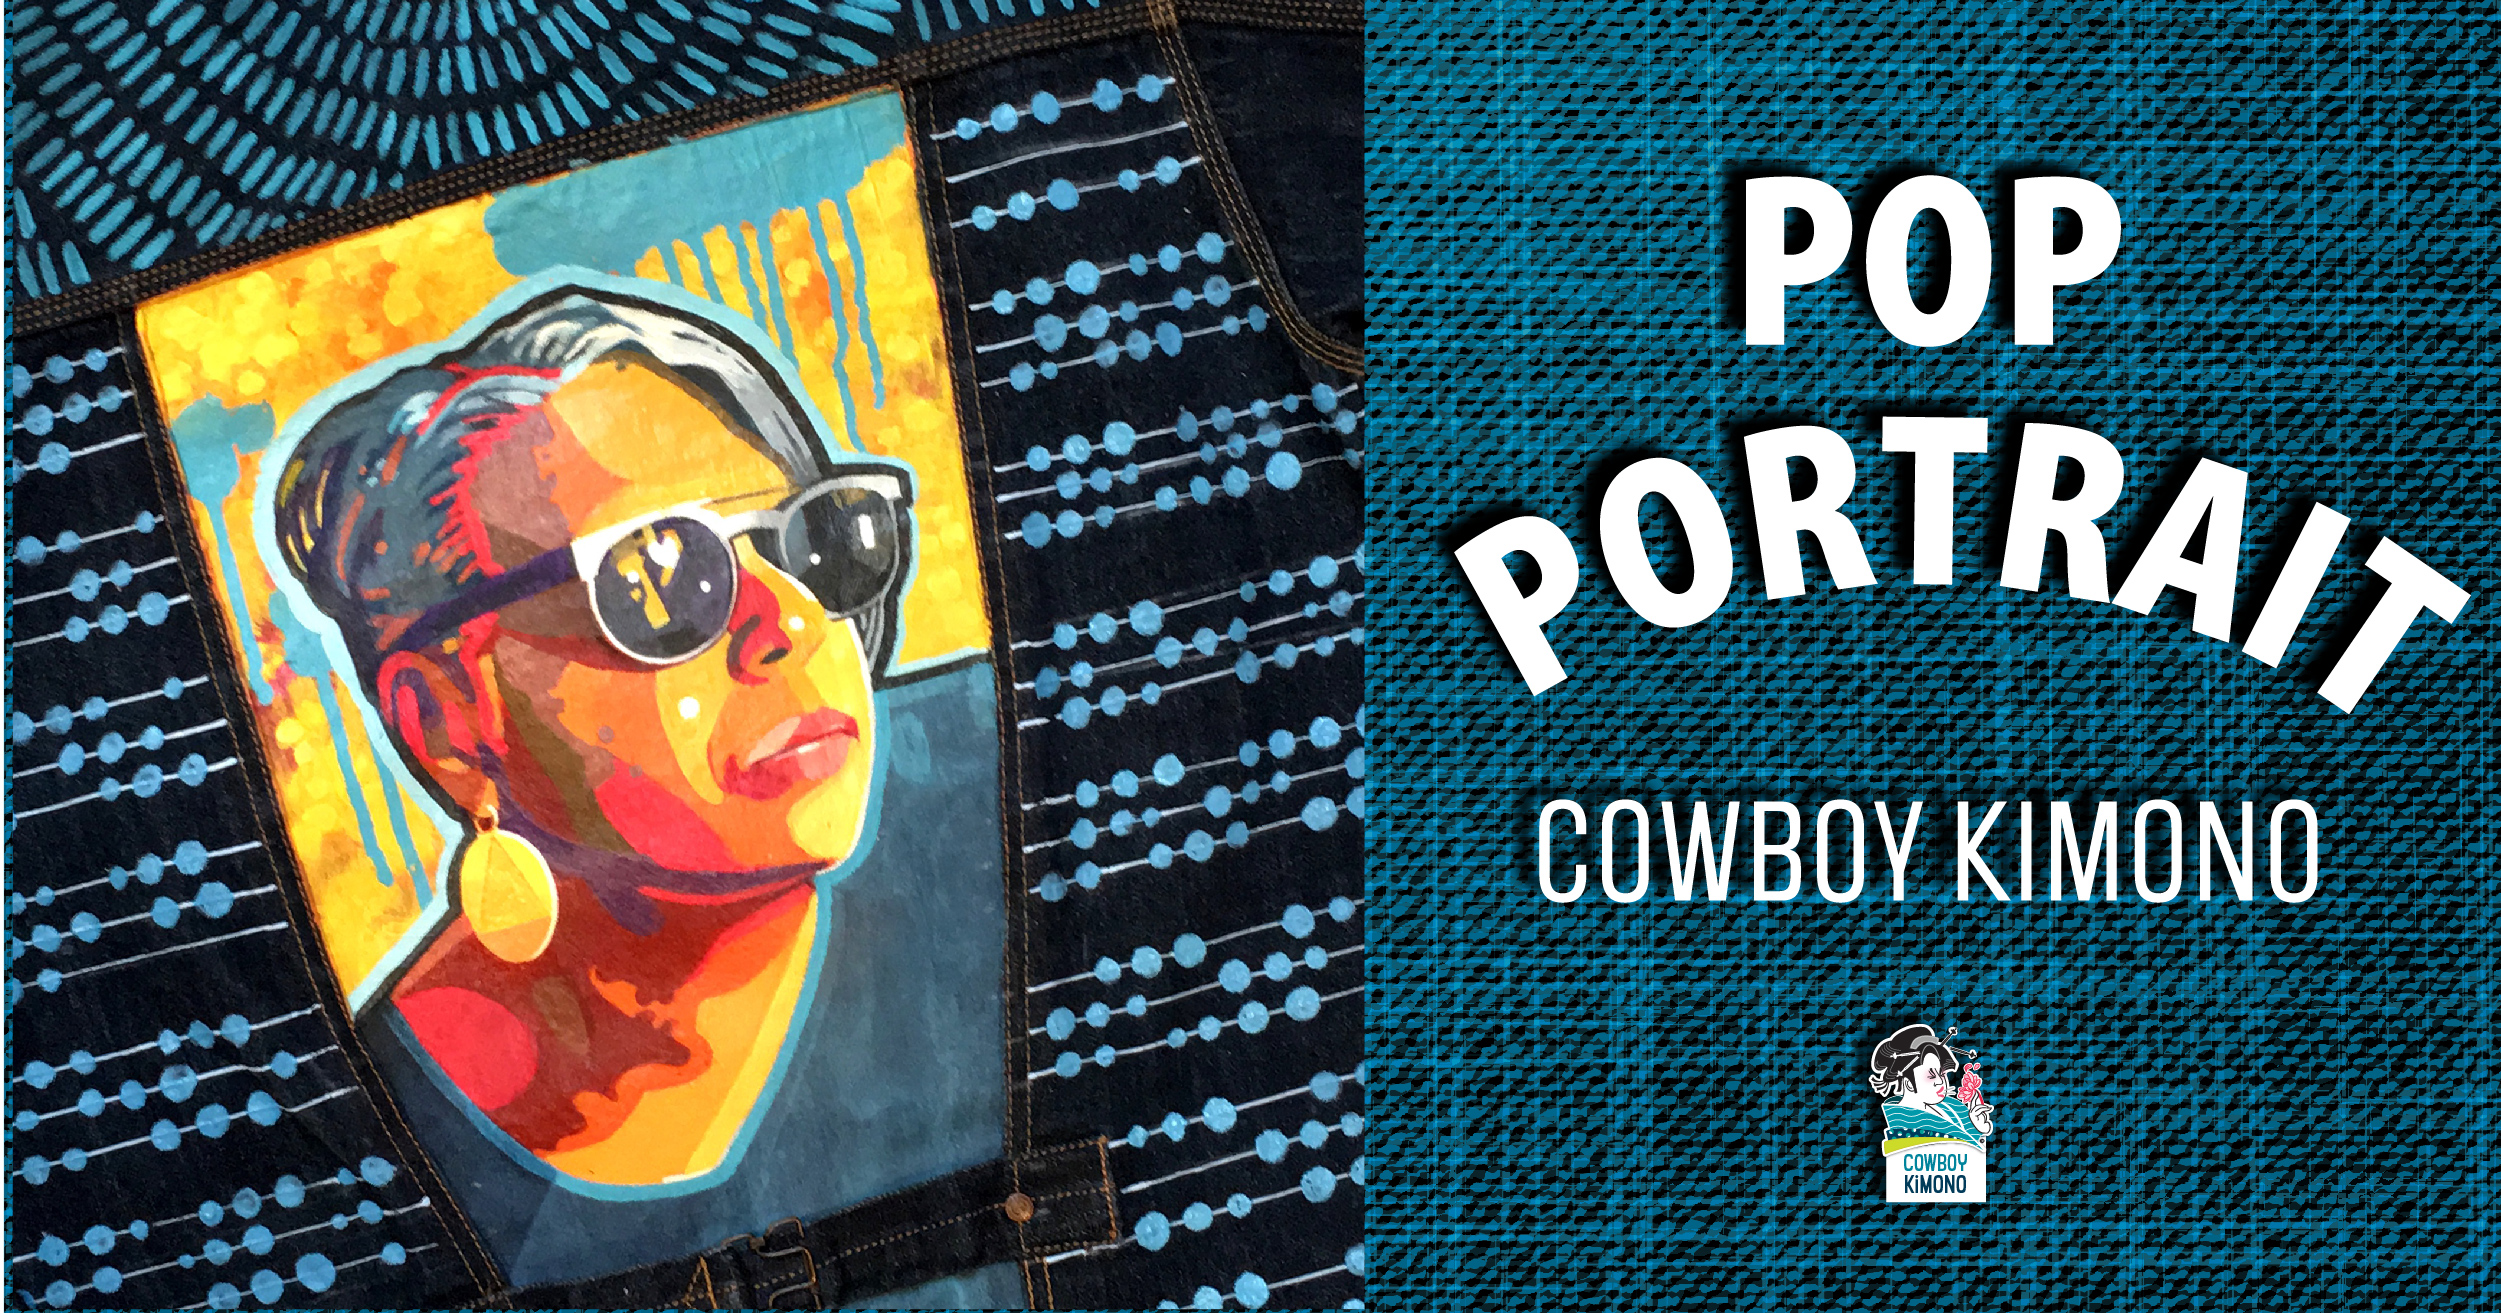
Just delivered this freshly painted, Cowboy Kimono, to a dear friend and creative supporter. She commissioned the project as a present to herself and wanted something as vibrant as her personality. The few simple asks included maintaining the glory of her silver…
Read MoreOverhauling Sneezing Geisha was more of a playdate than a serious, focused design session, resulting in a better representation of Cowboy Kimono's aesthetic.
Read More