Categories
Craft Projects
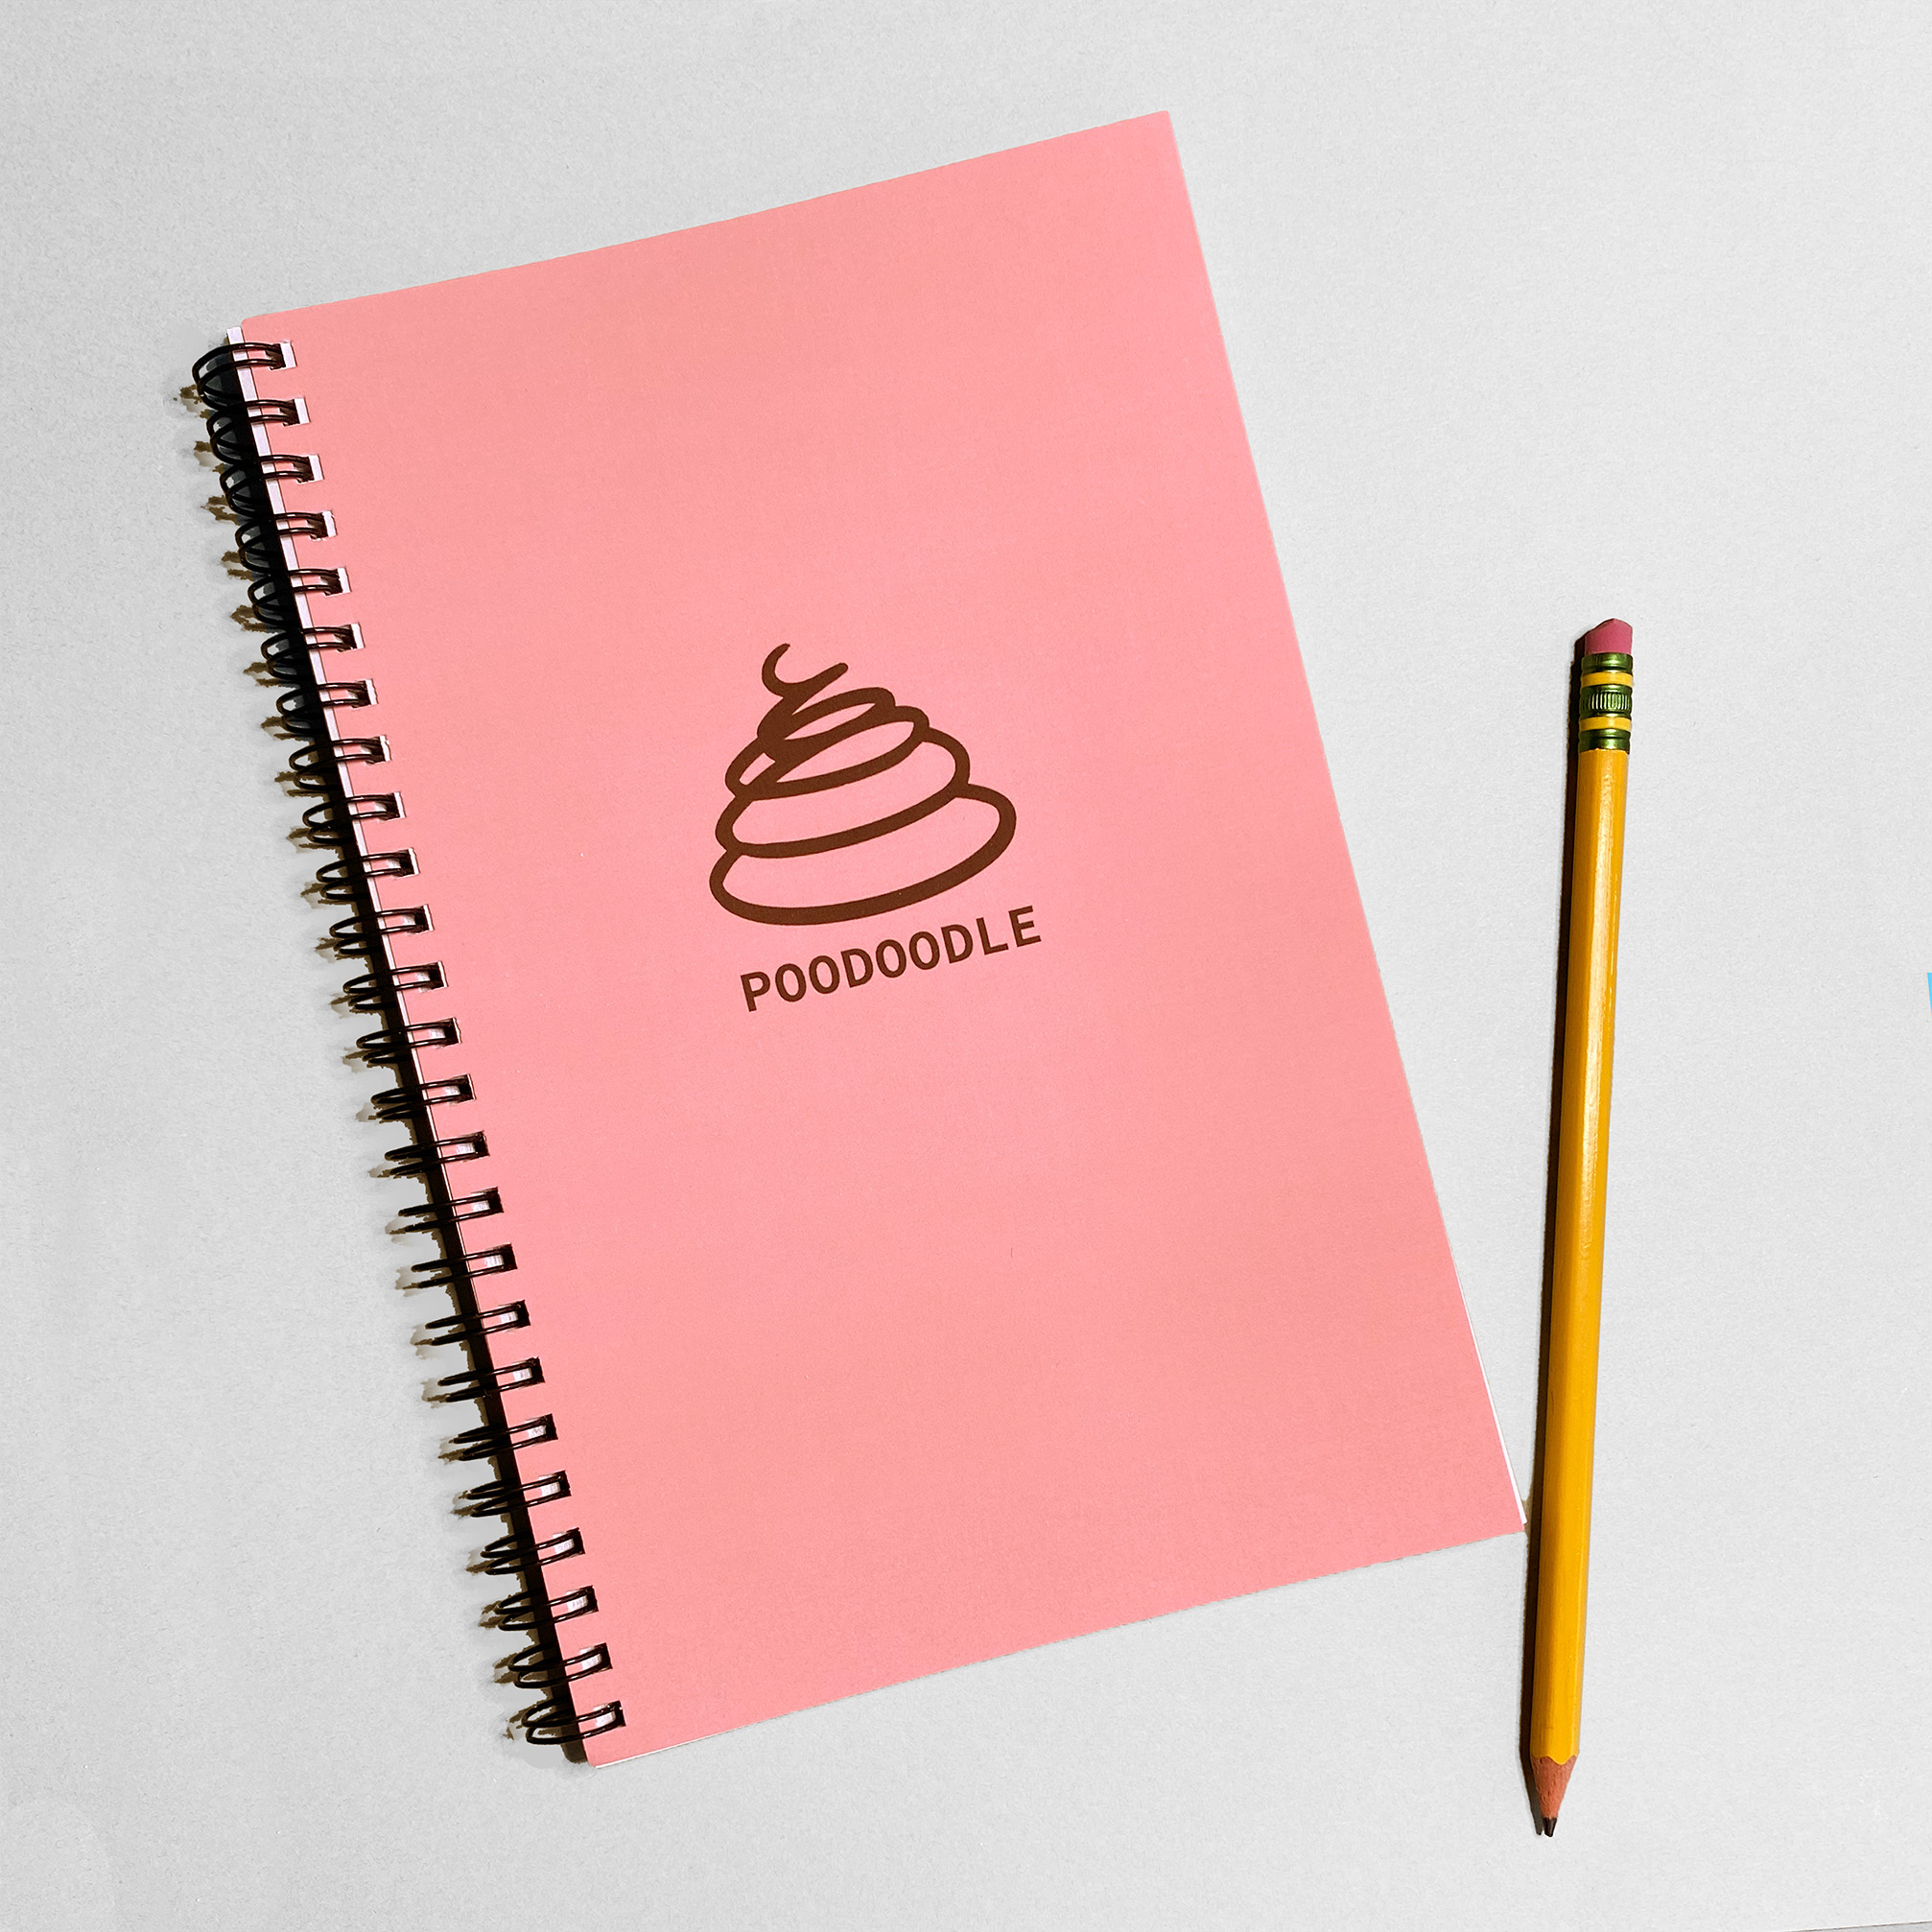
Introducing the Poodoodle Journal
"A place to doodle, brainstorm, make lists, scribble down half-baked ideas, and write without judgment. "
Read More "A place to doodle, brainstorm, make lists, scribble down half-baked ideas, and write without judgment. "
Read More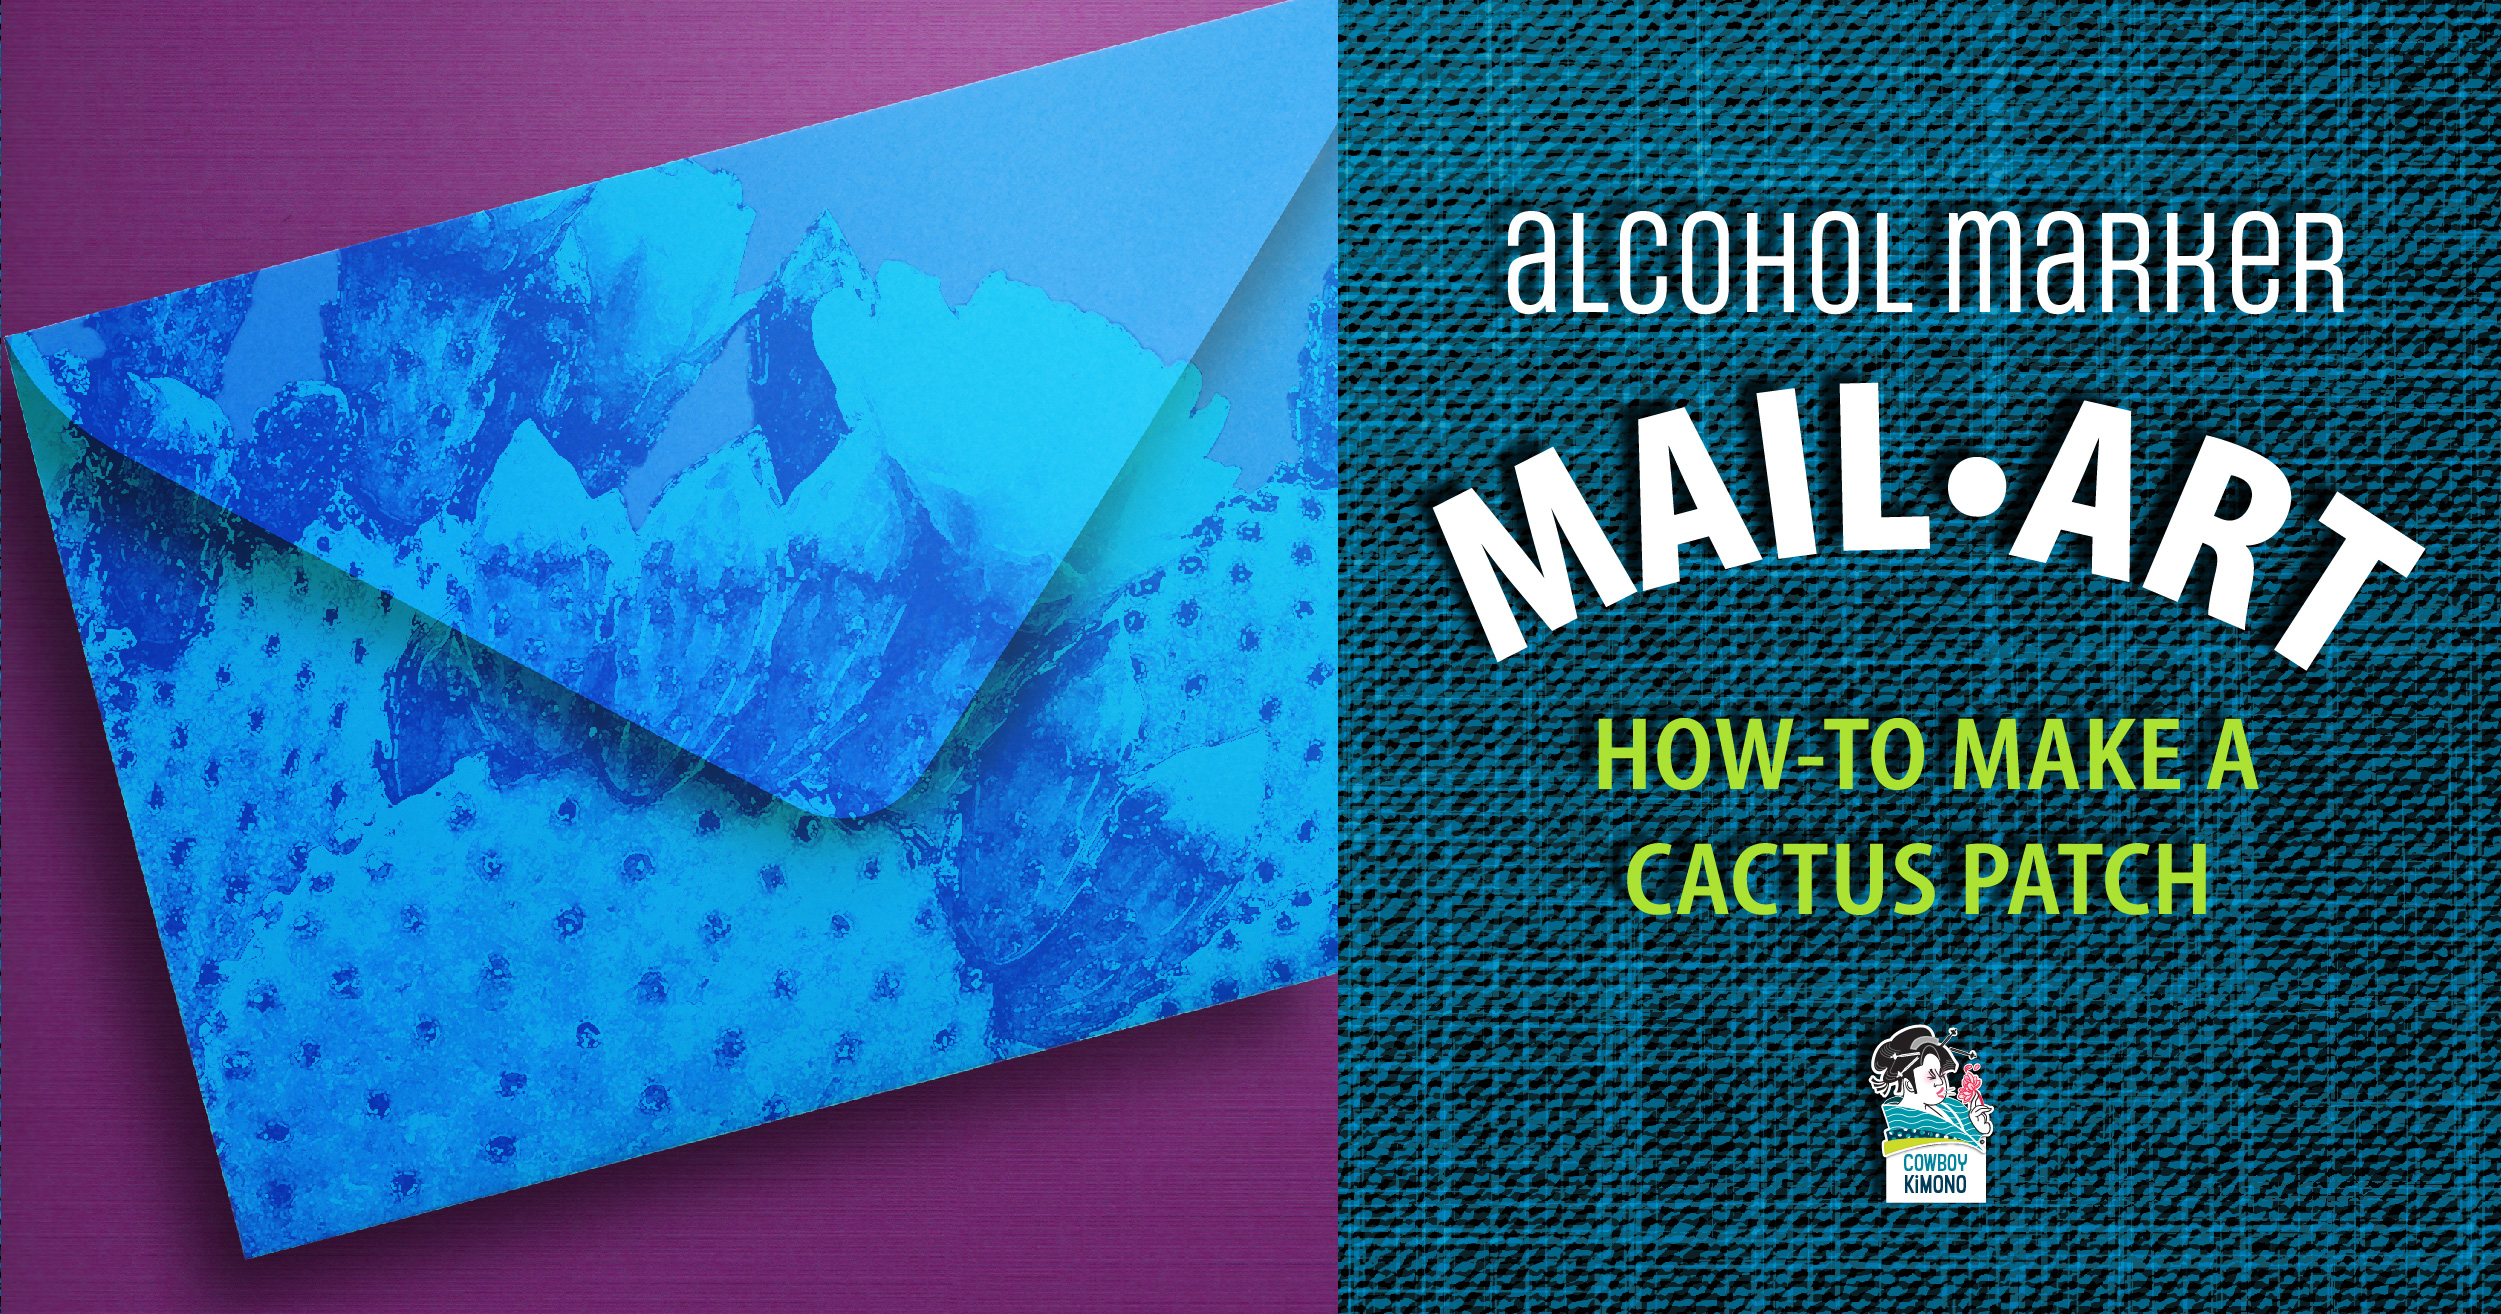
Explore marker blending techniques, watercolor tricks, and doodles to make this mail art cactus patch
Read More
My Mom was a mail magician. She would make letters appear a few days into my week of summer camp. I’m not sure if she wrote them the moment after she dropped me off or if she had them written before I…
Read More